Nothing is more heartbreaking to the boaters than their boat colliding or degrading over time. Yes, aluminum has its strengths when it comes to other hull materials, but these aren’t completely devoid of weaknesses either.
In this post, we’ll share with you information on how you should care for and repair your boat in different scenarios. Read on to find out how to repair aluminum boats!
Table of Contents
How To Handle Dents On Your Aluminum Boat?
If the damage on your aluminum boat is due to a collision, then there sure are some dents on your boat.
Start by taking your boat out of the water onto a trailer and transporting it into your workspace. Mark all the problematic areas and assess the severity.
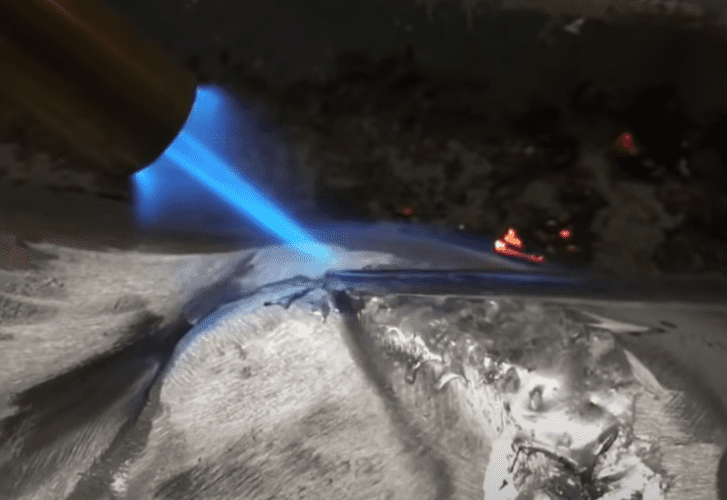
Using a propane torch, heat the dented area slightly such that you can hammer the dent outwards with ease. Remember not to heat the boat more than around 400 to 570 degrees as you don’t want to melt the aluminum. Keep in mind that the melting point of aluminum is 660.3 degrees.
Minor inward dents can be brought back into the shape using subtle hammering. In order to repair dents on your aluminum boat, you’ll need assistance. Have somebody carry an anvil or a dolly in order to provide a backstop while you hammer the dent outwards.
However, if the dents are severe and there are creases formed, you will need to put more time and effort into fixing the area.
Use a 1/8 inch drill bit to drill a small hole through the center of the crease in order to release the stress. Heat the area to around 400 to 570 degrees, ask someone to carry an anvil, and pound the dent outwards using a hammer. Your dented area should be pretty flat by now.
Finally, fill the holes using brazing rods or use a sealer of your preference. File down the brazen weld for a smooth appearance and texture.
Nevertheless, if you aren’t confident with your skills, we’d definitely recommend you give a professional boat repairing company to do the repair job for you.
How To Find Boat Leaks On Your Aluminum Boat?

To find out where you have leaks on your boat, start by hooking up your boat to a tow vehicle. Make sure the boat is level.
If you don’t own a towing vehicle, you can make use of your boat lift. Now, fill the boat with one or two-inch of water using a garden hose while keeping an eye on the underside of the boat simultaneously.
If you witness leaks, drips, or seeping, from any holes or seams, stop the water flow, mark the area using a water-resistant marker and drain the water. Else, keep going until you fill the water up to the waterline.
Finally, once you’ve located the problematic area, drain the water and let the boat dry for a day or two before you begin the repair work.
Also, don’t forget to roughen up the damaged surface using a wire brush such that the sealant or bonding agent that you’ll later use for the repair will adhere to the aluminum better.
How To Fix The Leaking Rivet On Your Aluminum Boat?
Once you’ve figured out which of your boat rivets are leaking and mark the areas, start by removing the rivets.
Use a drill bit the same size as your rivet and drill the head of the rivet halfway through. Remember not to drill the whole way through. Now, use a tool with a diameter smaller than your rivet and pop off the rivet by hammering. This way, you’ll recover your rivet hole nicely and intact.
Now, using the drill bit the same size as your rivet, clean the corrosion and gunk off of your rivet hole. Then, clean the surface on the boat using 120 grit sandpaper such that you can check if there are any cracks or seams on the side.
Finally, it’s time to rivet the holes using a rivet hammer. Ask somebody to hold a bucking bar on the inside of the boat. And, that’s it – you’ve successfully replaced leaking rivets from your aluminum boat!
How To Fix Small Holes And Leaking Seams On Your Aluminum Boat?
1. Plugging smaller holes using closed-end rivets and 5200 marines adhesive sealant:
Firstly, you need to determine the size of the holes you need to fill. If the hole is equal to or less than ¼-inch in diameter, you can easily plug the holes using closed-end rivets. These rivets are commercially available in 1/8, 3/16, and ¼ inches.
Select the appropriate rivet size, i.e., just bigger than the hole, and drill the hole using a drill bit of the same diameter.
Now, apply the marine sealant to the rivet end and plug the hole from the outside. Finally, set the rivet once you’ve slid the rivet washer on the inside of the boat and clean any excess sealant.
2. Using brazing aluminum rods to seal seams and holes:
Now, if your boat hole is not of the size you can plug using rivet, you can use brazen rods to seal them. This process, luckily, is quite easy and efficient to follow. Supplies you need are:
- a propane torch,
- a thin strip of aluminum,
- epoxy,
- a drill motor,
- a grinding cone, and
- a brazen rod
Grind using the drill motor and a grinding cone, followed by using 220-grit sandpaper on the surface to provide enough rough surface area for the brazen weld to adhere to.
You can also back one side of the hole using epoxy and aluminum backing such that it forms a cradle for the molten aluminum to settle in. Heat the surface and roughen up the surface more by using a wire brush in a cross-hatch manner.
Finally, hold the propane torch steady on the area and melt the brazen rod onto the troubled area. Sand any excess aluminum scrap once the repair sets and remove the aluminum backing. Repeat the process once more from the inside for a secure repair.
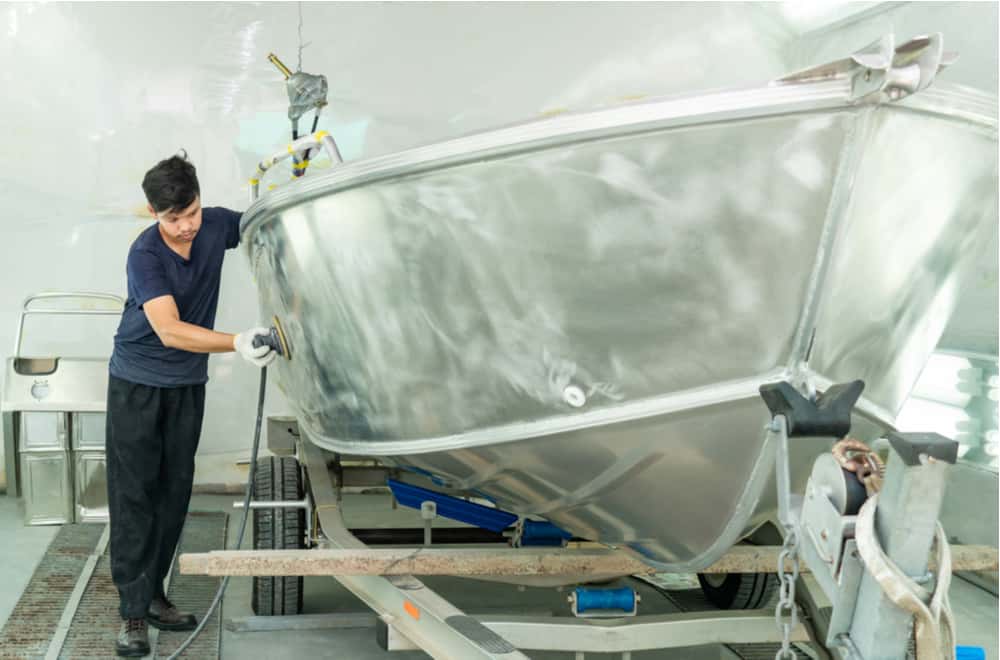
3. Repairing holes in an aluminum boat using epoxy:
Epoxy aluminum boat repair is way more common among boaters as it is easy, given how everything you require for the repair comes in a convenient epoxy boat repair kit.
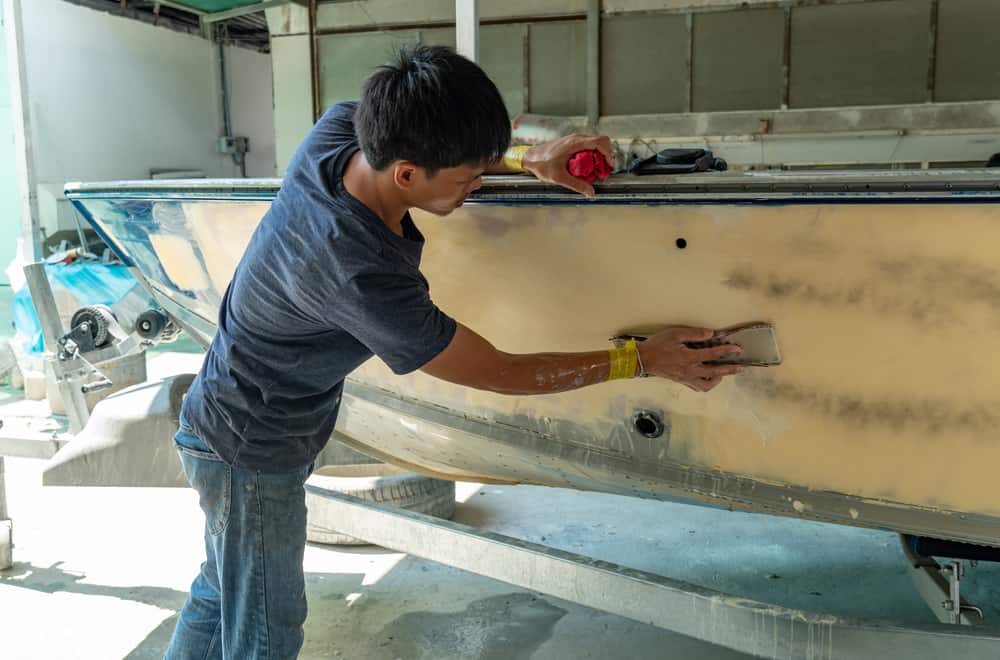
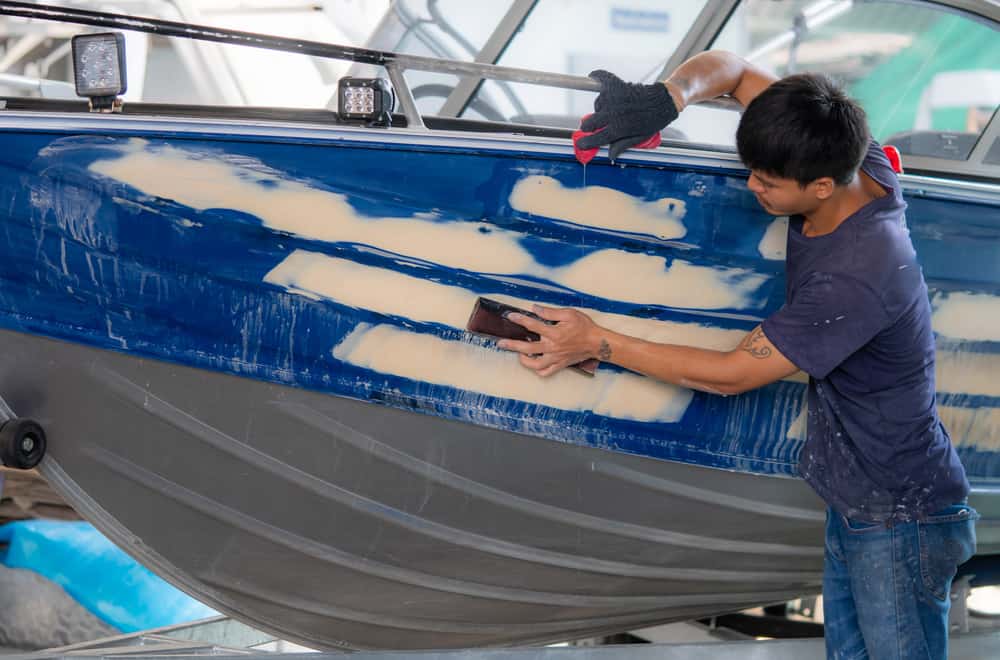
If you have any dents, start by fixing the dents first, as your boat needs to be reformed to its original shape for a successful epoxy repair. If this means torn edges, then so be it – cut them and sand them using 120 grit sandpaper to soften the edges.
Remove the boat paint from inside and outside using a coarse bristle disc and prep the surface by gritting it using 80 grit sandpaper.
Cut glass fabric – a piece for the outside and three pieces in diminishing sizes for the inside. Around 2-inches overlap of these outsides and inside pieces around the hole will make sure the glass fabrics bond efficiently.
Brush both sides of your boat surface with epoxy and prepare the patches by laying them over plastic and wetting them using epoxy.
Apply the patches on the outside and inside, making sure that no air bubbles are trapped within, and leave the epoxy to cure overnight once you’re happy with the repair job. Finally, you need to ground the edges and fair the patch using a mixture of epoxy and low-density filler.
How To Fix Electrolysis On An Aluminum Boat?

Let us start by stating that boat galvanic corrosion is a complex subject to delve into. So, this section of this post is just for you to get a brief overview of what factors might cause galvanic corrosion on your aluminum boat, how you can identify the problem, and how you can solve it.
Remember that an expert’s advice is definitely recommended for this type of boat repair!
1. What causes electrolysis on an aluminum boat?
Electrolysis on your aluminum boat is primarily caused due to lack of enough protective anodes or wrongly earthed shorelines or marina wiring or stray current from shore facilities or onboard appliances.
There are a few more reasons why your boat suffers from galvanic corrosion. As we mentioned earlier, it will probably be too difficult for you to pinpoint the exact cause.
2. How to identify electrolysis on your aluminum boat?
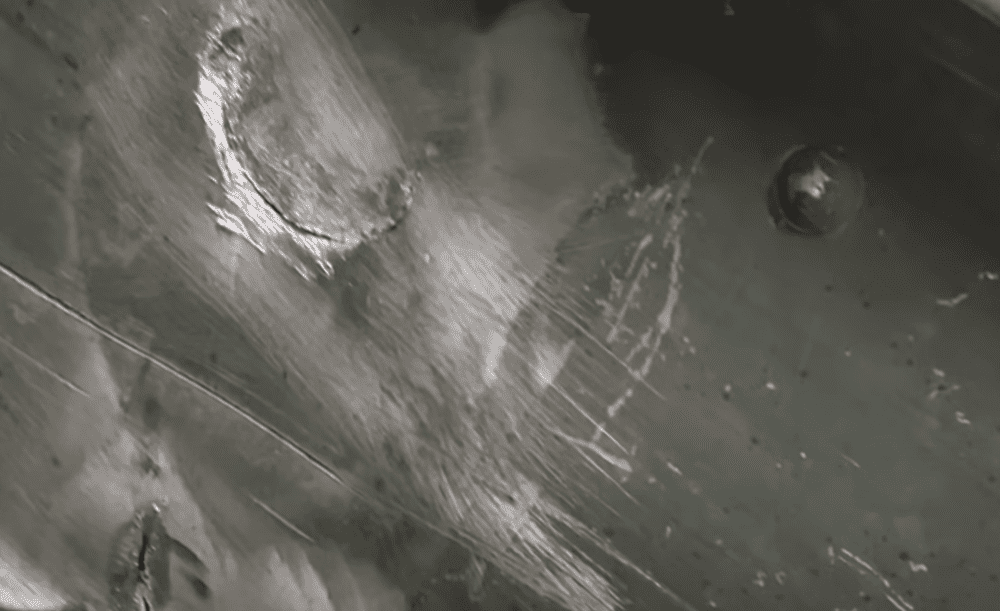
You will notice paint blisters or corrosion on underwater areas of your boat. Your protective anodes are probably disappearing quickly or seem to be not working at all. The liquid in the blister areas will feel soapy or white deposits on or around the sacrificial zinc anodes.
3. How to repair electrolysis damage on your aluminum boat?
Finally, once you identify the bigger causative problem, repairing electrolysis on a boat is no big deal. Grit the paint or corrosion using sandpaper or a coarse bristle disc. Once the prep is done, paint the area using good-quality marine paint.
Summary
With these instructional guides, you should be able to perform your boat repair job by yourself and maybe with a set of extra helping hands.
However, if you’re completely unaware of boat repairs, the processes, and the tools, you might want to have your boat repaired by professionals if you don’t want to damage your boat further.
Thanks so much. Your article gave me many tips about fixing aluminum boats that can be applied in real circumstances. Nice post!
Aluminum boats need a lot of maintenance because they are susceptible to collision and hard grounding. Now that I know how to repair seams and holes in aluminum vessels, I won’t have to worry about them sinking while I’m away.