Boats inherently face a variety of climates, elements, and water conditions. Depending on the type, model, motor, and usage, essential maintenance and upkeep can vary quite a lot. However, there will come a time when you will have to repaint your boat.
If that time has come or is near approaching, there are some things you should know. This article will provide a list of necessary tools and equipment and lead you through a step-by-step guide to the boat painting process.
Table of Contents
What You Will Need for boat painting
Your boat deserves better than just a slap-on paint job in the backyard. She bears a meaningful name for a reason and willingly provides you with hours of sun-baked hobby time, work, leisure, or a combination thereof.
So, since you want to give your boat the best, there are some essential tools and equipment you will need to get the job done right, including:
- well-ventilated space
- power sander
- roller, paintbrush, or spray gun
- paint pan
- air compressor
- air blow gun
- gloves
- respirator (must be suitable for sand debris and paint)
- eye protection
- lint-free cheesecloth
- tack cloth
- drop cloths
- tarps, plastic sheeting
- paint thinner, alcohol, mineral spirits
- primer
- top paint
- bottom paint
- sealer
- wax compound
- power buffer
Painting A Boat
You do not have to have the biggest yacht in the marina to turn heads- you can achieve the same effect with a solid paint job. I am not suggesting that taking pride in your work is the cost for bragging rights; instead, I am simply stating that there is tremendous satisfaction in achieving great results.
It all starts with finding a well-ventilated area with access to water and electricity. If you cannot find a paint booth to rent in your local area and want to complete this DIY project, at least make sure you can protect yourself and your boat from the elements.
Preparation Stage
The preparation stage is undoubtedly the most critical step in any painting project. Ensure you follow all safety and hazardous waste precautions and disposal requirements and take your time to perform each part of the preparation stage wholly and thoroughly.
This process includes several elements including:
- Setting Up An Ideal workspace
- Washing And Dewaxing Your Boat
- Sanding
- Performing Any Repairs Necessary
- Cleaning
- Masking
Step 1. Finding & Setting Up Your Workspace
If a spray booth is unavailable, the next best thing would be having access to a shed, boat carport, or other types of shelter. I suggest placing a tarp over the ground before pulling your boat into the space for semi-sheltered carports.
First, this prevents overspray and drips from staining the floor or penetrating the soil- creating an environmental danger. In addition, sealing off the sides to the semi-open enclosure with plastic sheeting will help protect dust and pests from ruining your freshly painted boat while still allowing sunlight to penetrate the workspace.
Ensure that the workspace has safe access to both water and electricity. To make things easier, I suggest including a basic workbench to help organize all the material you will be using. And because you are working with chemicals, have an appropriate hazmat disposal area that is in keeping with local regulations.
Step 2. Washing & Dewaxing
Setting up a safe and clean workspace is a huge part of the preparation process leading to painting your boat.
Before you think about pulling your boat into the dedicated space, I suggest giving your boat a thorough external wash to rid its surface of all dust, debris, or other particulate matter.
Next, I suggest you dewax your boat not to gum up your sanding discs during the next step. Once you have washed and dewaxed your boat, pull it inside the work area and ensure it is safely secured.
Now that everything is in place and your boat is parked securely, you are ready to grind (literally).
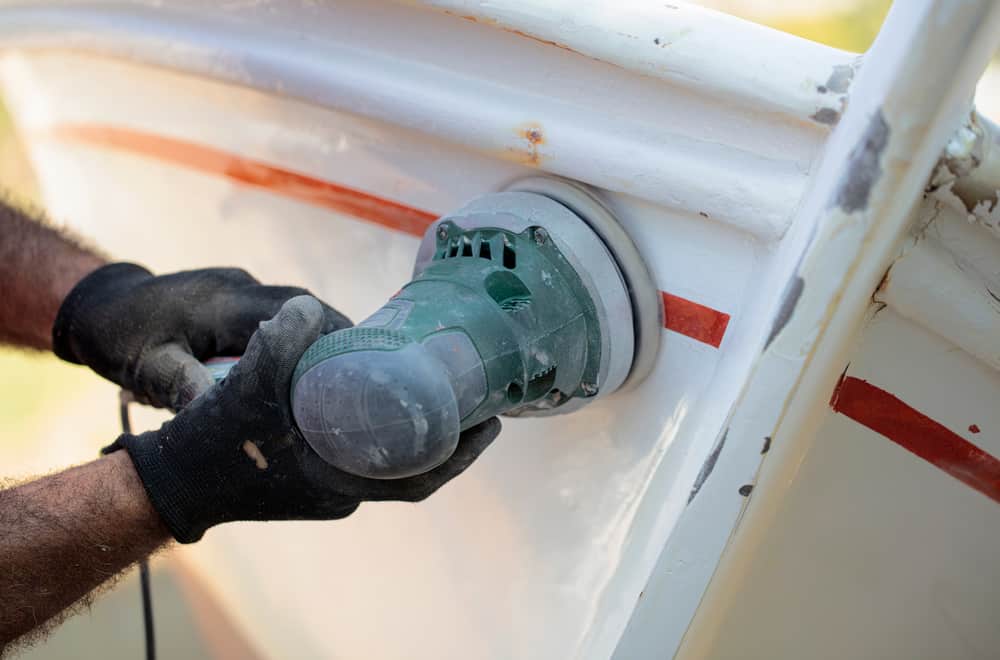
Step 3. Sanding
Another early consideration of yours should be whether you have an appropriately sized air compressor to handle continuous sanding and spraying without cutting off mid-stroke.
If you have no other use for an air compressor, you can usually rent one from your local hardware store. However, if you go this route or borrow one from a friend, I advise you to purchase a new oil and water separator to prevent either from dripping through the spray gun’s tip or ruining your paint job.
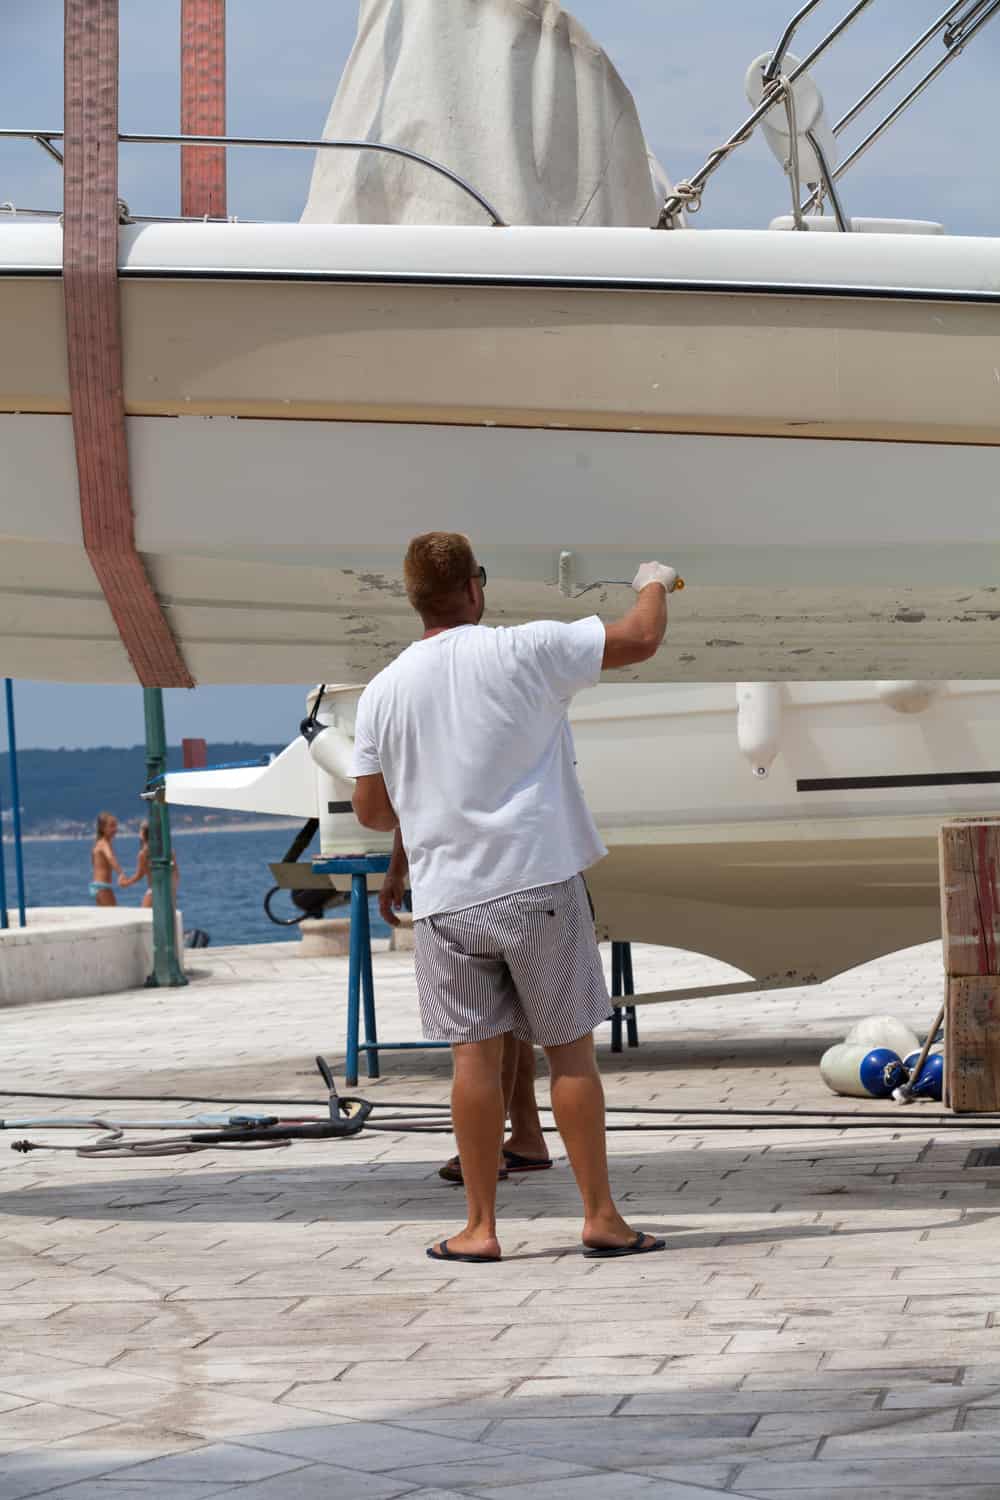
Although plenty of people choose to use a paintbrush or roller to paint their boats, as you can see, I prefer the spray gun. Call me biased, but after spending more than a decade in the aviation and marine painting industry, I believe you can achieve a sleek finish every time, provided you use the correct technique.
PRO-TIP: Be sure to pair a suitable compressor with your spray gun of choice. In most cases, a 30-gallon air compressor with at least 6-7 CFM will be ideal for smaller boats. However, bigger is better if you own a mid-to-large boat or plan to use the compressor for other tools. If you do not want to run the risk of having to stop while your air compressor catches up, then choose an air compressor that sustains at least 10 CFM at higher PSI (such as 50+). In these cases, it would help if you were looking at compressors no smaller than a 45-gallon tank.
I like to start sanding with courser sandpaper, usually 80 or 100 grit. Be sure not to apply too much pressure to the orbital power sander as you rough up your boat’s exterior surface.
Periodically using an air blow gun clears off the surface from dust and sand debris- doing so will help you notice missed spots and prevent you from wearing out the sandpaper too quickly.
Once you have roughed up the entire surface of your boat, do a second pass over with your orbital sander using either 120 or 180 grit sandpaper.
Again, attach your air blow gun and blow away all sand debris and dust from your boat, taking special care near small joints and crevices. Once you have done this, I would consider replacing any plastic sheeting to maintain a hygienic environment for painting your boat.
Now, bring in the hose and rinse off your boat. Rinse from top to bottom and finish cleaning your work environment by rinsing off the floor.
Step 4. Repair

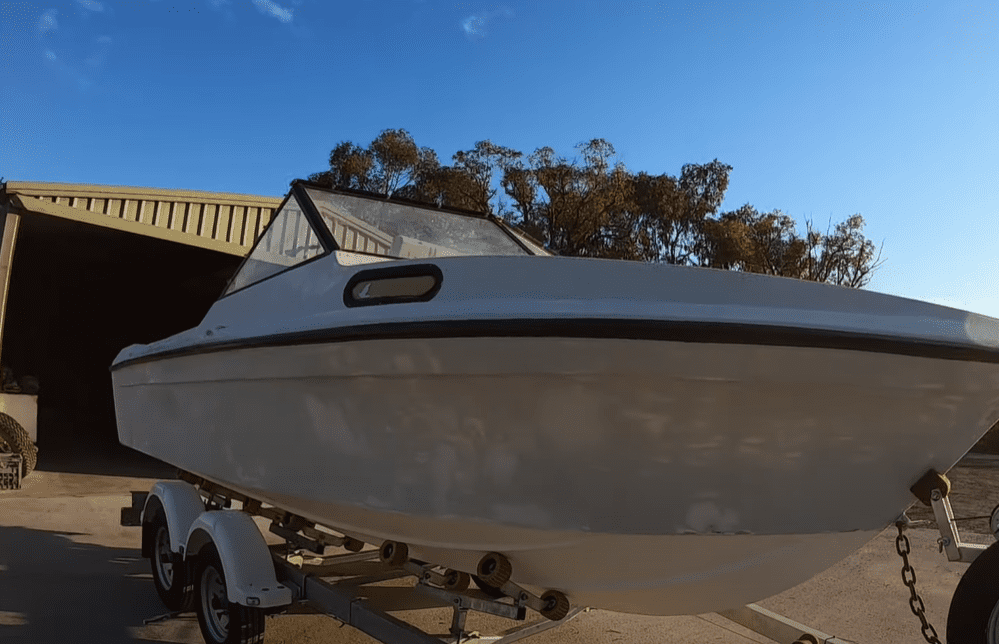
Depending on the construction of your boat (aluminum, fiberglass, or wood), surface repairs will vary significantly. In any case, this is the perfect time to adequately repair any surface imperfections such as chips, deep scratches, dings, or gouges.
In all actuality, you should do this before completing a final clean of your work environment as the last step in the sanding stage.
Step 5. Cleaning
Before moving on to the masking stage, ensure that your boat surface and environment are nice and clean. Any lingering dust and other particulate matter will gladly stick to your new paint job and make it look subpar.
After a good rinse down, take some lint-free cheesecloth moistened with paint thinner, alcohol, or mineral spirits and wipe down the painting surface thoroughly.
As a final measure, use a tack cloth to go over your paintable surface one last time, picking up any lint, dust, or small debris still present.
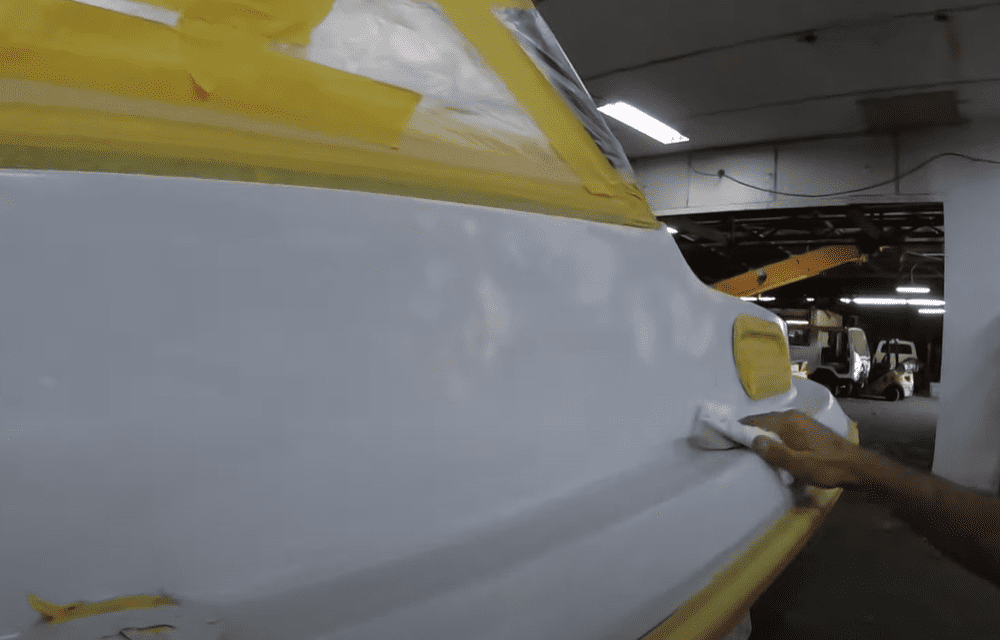
Step 6. Masking
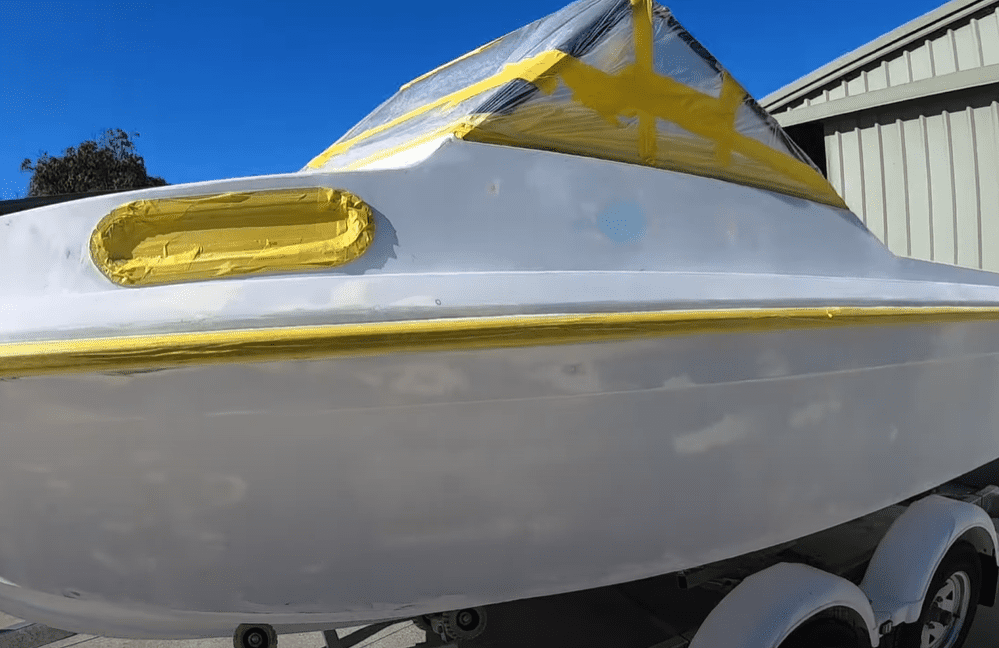
Before you start priming your boat, you will want to take some time and mask off any trim or other areas you do not want to paint. If you can easily remove the boat’s trim, hardware, or other ornaments, that would be the best option.
Pay attention to detail and take your time- this step is critical to preventing unwanted overspray and future clean-up. Be sure to use a trusted painter’s tape designed not to leave any residue on your surface upon removal- 3M masking tape is the way to go.
Priming Stage
You have put in a lot of work up to this point to ensure that you have prepared your boat’s surface for prime and paint. In a paint booth, airflow and temperature are controllable factors.
If you are using any other makeshift workstation, you need to find an adequate balance between ventilation, cleanliness, and climate to produce the best finishing environment.
First, consult the weather (although it’s not a sure science) and pick a timeframe where you have at least one or two days with no chance of rain. In addition, you will want to consider humidity levels that can affect dry time and how the paint settles.
The can of primer and paint will outline the manufacturer’s specific spraying conditions; however, I suggest you spray mid-morning or mid-afternoon to avoid daily humidity extremes.
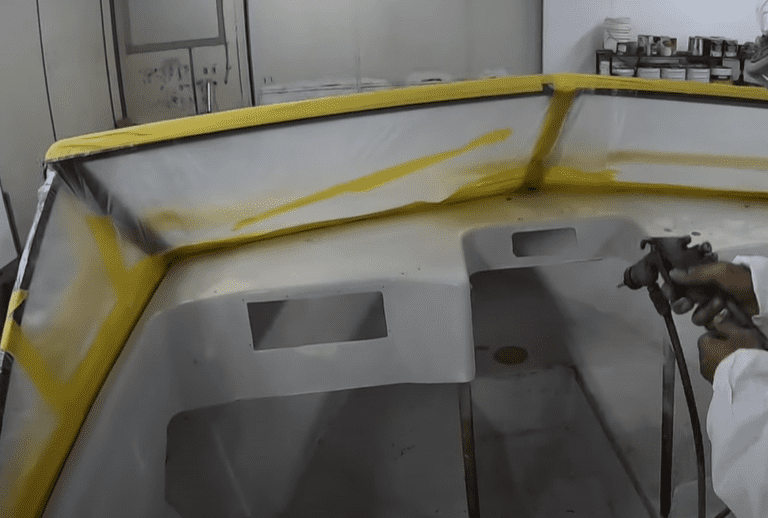
If you’ve read the instructions for mixing and spraying the primer, it’s time to mix it up, suit up with all recommended personal protective equipment, turn on that compressor, and start spraying.
Remember not to spray on the primer too thick- early on in my painting career, my first supervisor taught me to spray primer thin enough that you can still read a newspaper through it.
PRO-TIP: Whether you choose only to spray one coat of primer or spray a second, consider wet sanding between each coat for the best-looking end product. Lightly sand with finer sandpaper- start with something about 320 grit or higher. Remember to clean your boat’s surface and environment before spraying again.
Although not usually necessary, you can also apply a second coat of primer- always remembering to spray it lightly and evenly. But, again, read all product labels and be sure to respect dry times between coats.
Painting Stage
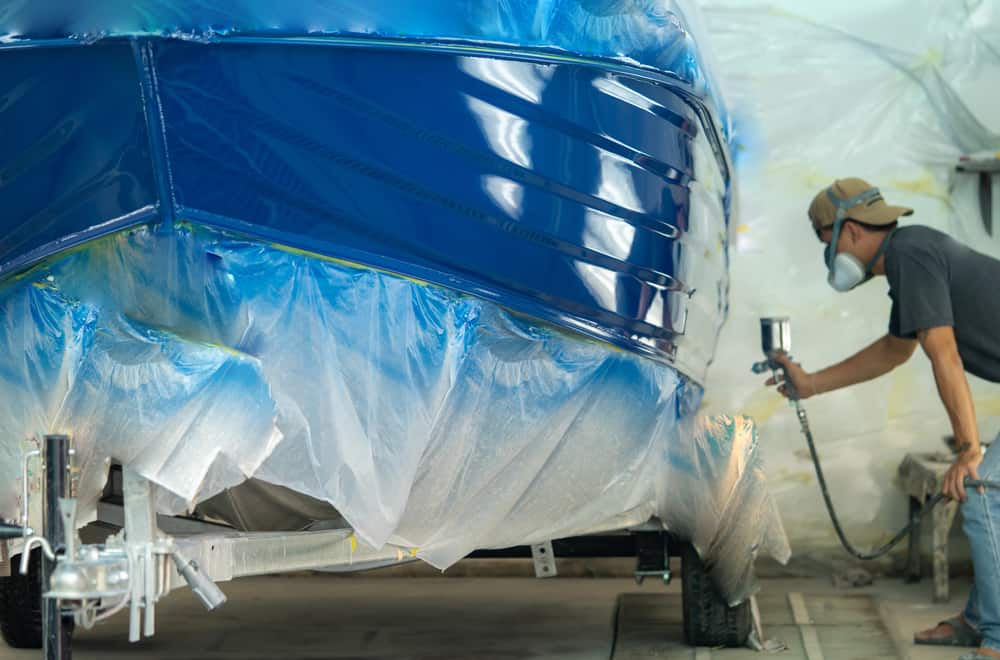
If you have followed every step up to this point thoroughly, you have set the framework for a fantastic final coat. Although only you know how much work you have put in at this point, everyone else will be able to see what you are about to do.
Now that you have prepped and primed your boat and given adequate time for the surface to dry (hopefully while taking a break and getting something to eat), you should suit back up and get ready to paint the topcoat.
Before mixing and painting, always consult with the manufacturer’s instructions. Procedures will vary depending on whether you use an enamel or polyurethane paint (single or two-part).
Start spraying your first layer of topcoat with all safety gear on, and only after a second look at your air compressor’s settings. In addition, I urge you to watch the video I included earlier about the painting technique once again for using a spray gun.
Remember that smooth and steady gets the job done best. My recommendation is to spray at least three coats of your topcoat of choice- giving adequate dry time and a good wet sand between each.
After your final coat of paint, you should wet sand with extra-fine sandpaper such as 1000 or 1500 grit. Watch this video for the proper way to do it.
Sealing
Applying a suitable clear coat or gel coat to your boat helps seal and protect all the work you have just done from harmful UV and other harmful elements.
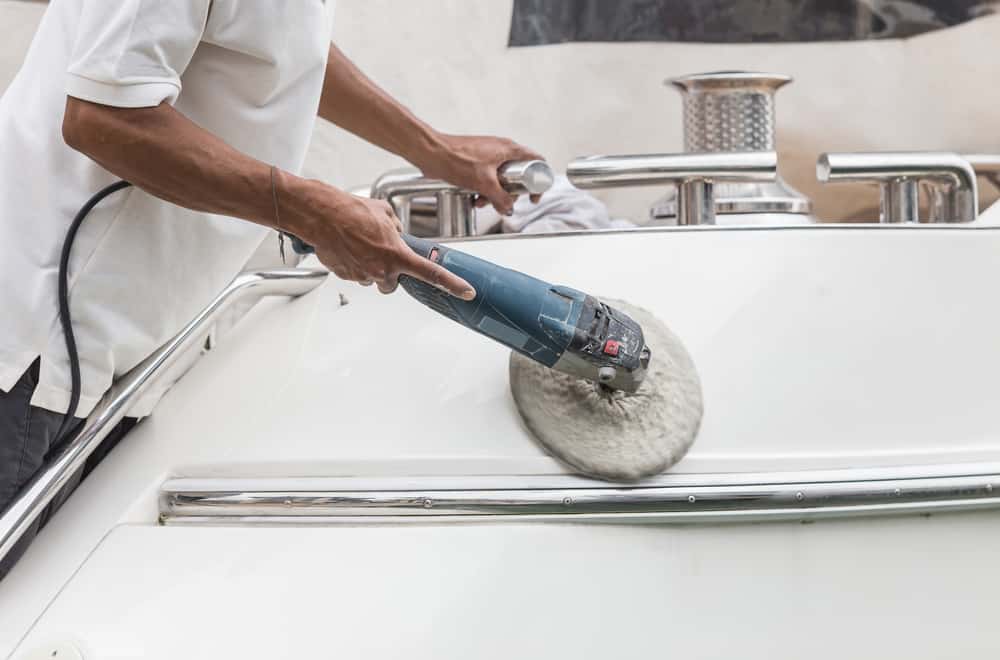
Buffing
Last but not least, a marine-grade wax compound and a good buffing will provide a protective barrier to all the layers underneath while giving your boat a high-gloss finish.
Final Considerations
- Keep your environment clean and stay safe by utilizing all recommended protective gear.
- Remove all masking tape immediately after you finish painting.
- Clean up and spills and properly dispose of all hazardous material.
Conclusion
As a passionate painter, I hope to have informed you of the best way to paint your boat. Please feel encouraged to take this project on as a DIY project, even if you’ve never held a spray gun or sander before.
Take your time and refer to the steps outlined in this article as many times as you need to, and remember, slow and steady gets the job done right.
Please leave any other questions or concerns you may have about how to paint a boat in the comment section below.

Joseph Fabiano is a writer, nature enthusiast, and stay-at-home father of two wild and free boys. He enjoys starting his day with a good run, hot mug of coffee, and a jump in the Ionian Sea, no matter the weather. Currently based in the Apuglia region of southern Italy, he enjoys discovering the world with his best traveling buddies (his little monkey’s and beautiful wife) at every given opportunity. Every trip, long or far, should be made an adventure according to Joseph as he believes inspiration and creation is right in front of you.