You may have noticed some boats look shiny and new while others look dull and drab, even if the boats are the same age. This isn’t just about choosing glossy paint instead of matte. It’s about applying a good gelcoat to your boat. Gelcoats protect boats from ultraviolet damage.
Gelcoating also reduces the rate of corrosion. Let’s learn how to gel coat a boat and keep it pretty and protected. It’s not as tough as it looks, but if you’re inexperienced, begin by practicing on a smaller piece of stray wood or metal. Test rollers, brushes, and spray cans.
Table of Contents
Tools for gel coating a boat
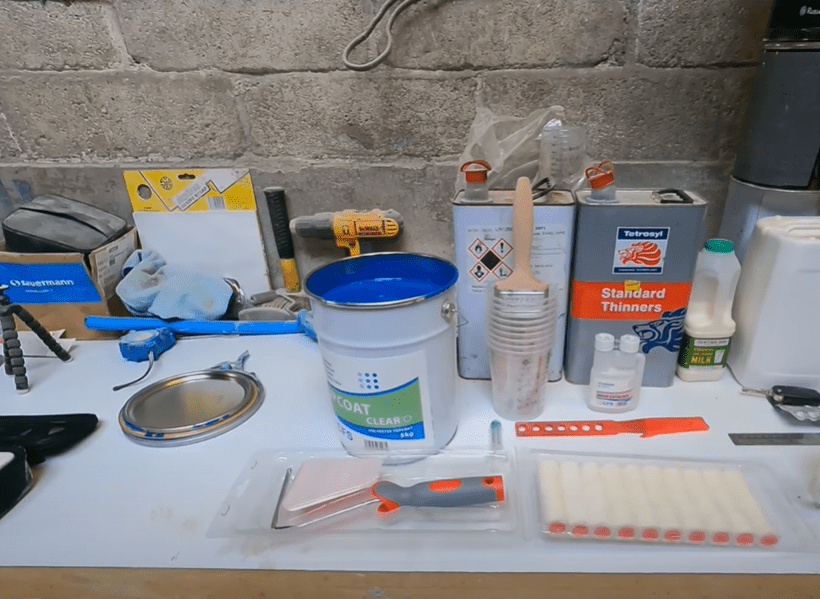
- Acetone Solution
- Boat Detailing Solution
- Brushes, Rollers, or Applicators
- Gel Coat Paste, Liquid, and Spray
- Gloves, Mask, and Goggles
- Microfiber Cloth
- Polish, Wax, and Buffer
- Rags, Sponges, and Buckets
- Repairing Supplies (e.g. filler)
- Rubber Compound
- Sandpaper and Sealant
- Tape and Plastic Film
How to Gelcoat a Boat
Step 1: Check the Weather Forecast
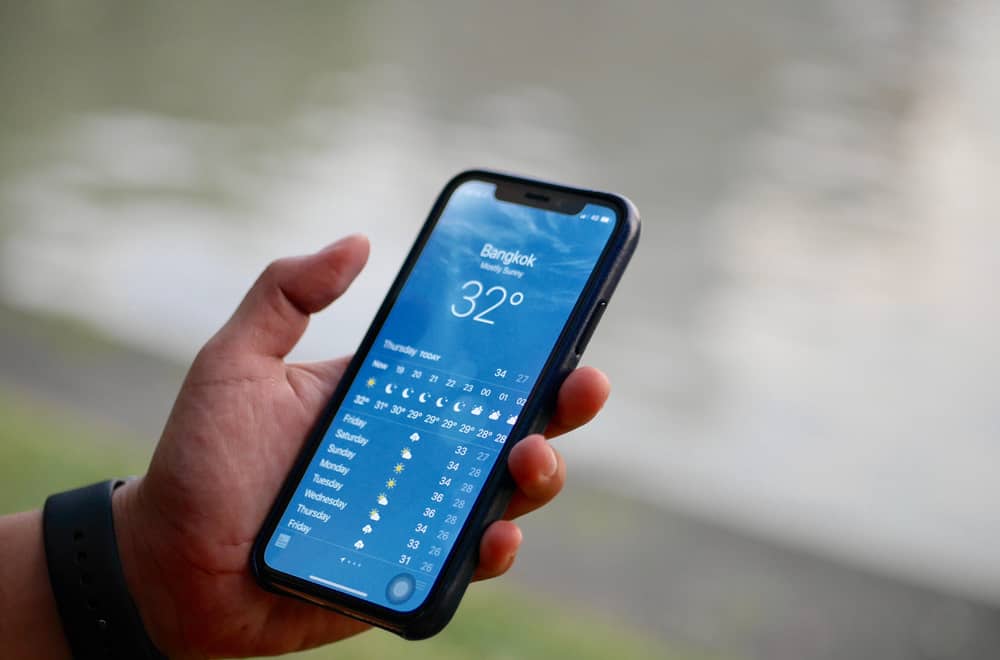
As a regular boater, checking the weather is part of your routine. You don’t want to get trapped in a storm or waste a good day of fishing. But the weather is equally important when you’re working on the boat. If it’s too hot, splotches of paint will dry too quick and get lumpy.
But if it’s too cloudy, the boat will take forever to dry. Of course, wet weather will interfere with the whole process. So check that the temperature is even and the sky is clear. If you’re working indoors, use a mask and keep the area well ventilated – product fumes can be toxic.
Step 2: Inspect the Boat
You might have different reasons for gel coating your boat. The most common reason is that your boat looks old, dull, and damaged, so you want to refresh its paint job. Or maybe you want to change the color of your boat to match the season (or please your latest soul mate).
Another popular purpose of gel coating is to restore the boat after a repair job. You may have fixed a leak or crack, and topping up your gel coat is part of that process. If you don’t know how to Gelcoat a boat properly after repairs, that new paint will stand out and expose you!
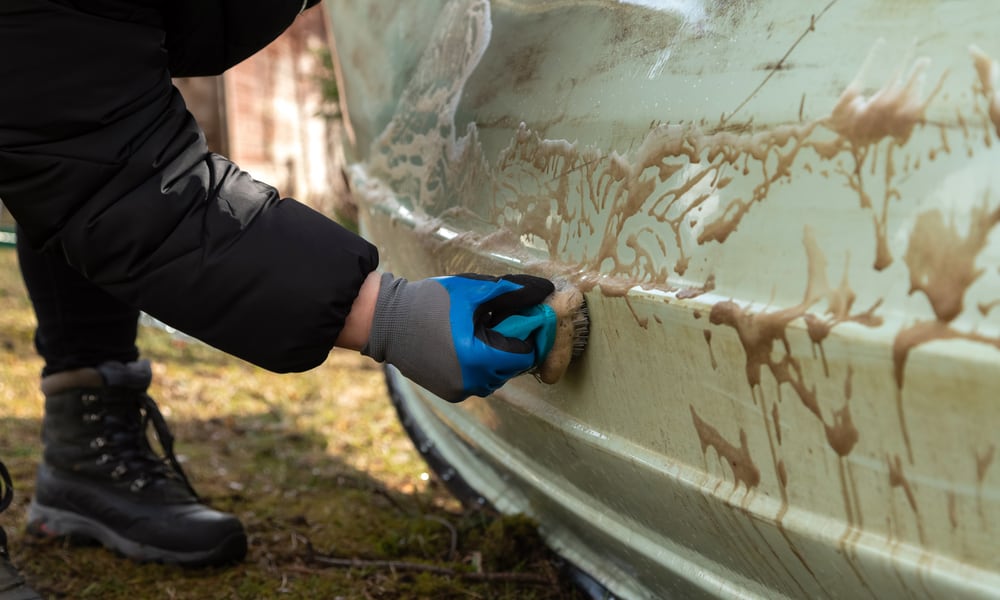
Step 3: Clean the Boat
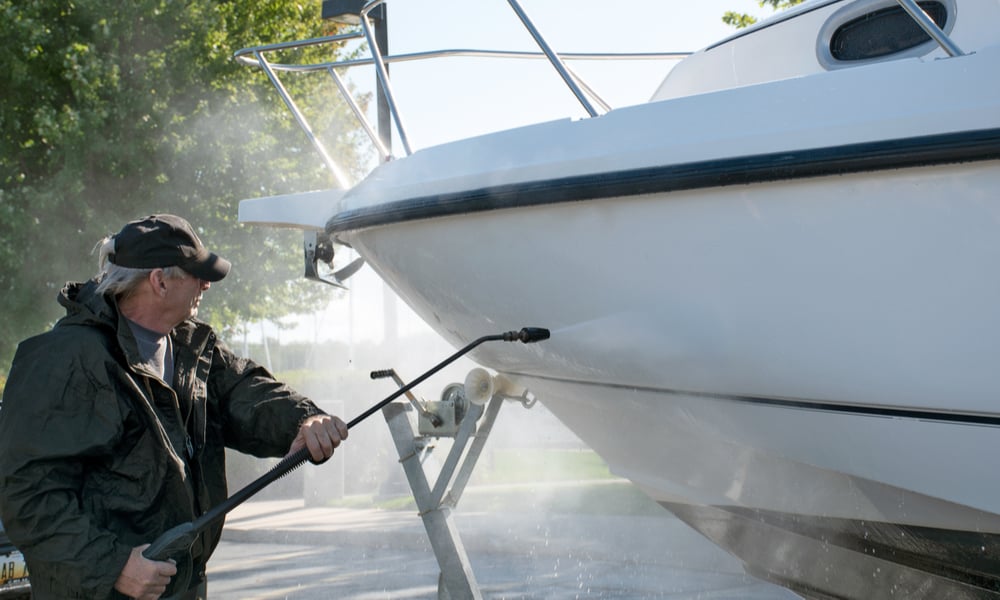
Your boat might be made of wood, aluminum, or fiberglass. Using the wrong products to clean it could end up in an even pricier professional paint job! But you need a boat detergent that’s strong enough to get rid of any grease marks or grimy residue for food, fun, or fishing.
Get the right boat detailing solution and do a deep clean on the surface you plan to paint. Your goal is to distinguish damage from dirt because cracks and chips can sometimes look like smudges. You also want to get rid of any sand, salt, or dust that might mess your paint.
Step 4: Grab the Tape
Two things are crucial when you’re figuring out how to gelcoat a boat. One, the surface has to be completely clean so the paint can stick to the hull. Two, the boat must be dry since any water droplets will prevent the paint from setting effectively. So you have to dry the boat.
Use a microfiber cloth or a piece of chamois to wipe the entire area you plan to paint. Then assess the boat again, using masking tape or painter’s tape to mark any scratches, dints, or damage. You’ll need to repair these trouble spots before applying any paint onto the boat.
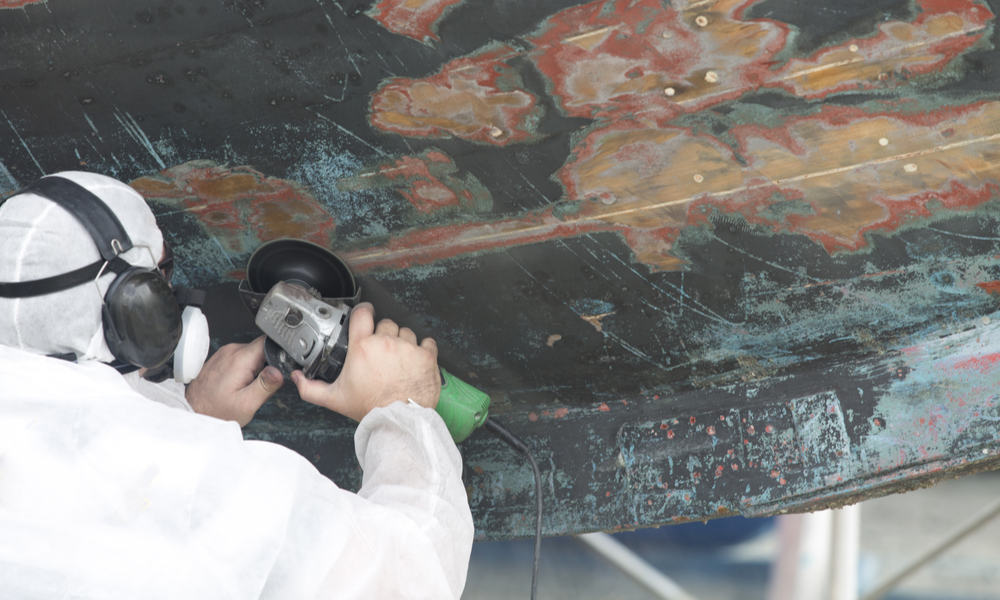
Step 5: Sand Down Any Cracks on the Boat
If you have a wooden boat, the cracks might be just on the paint itself, not on the boat. But with a fiberglass boat, the damage may sink through to the hull. In both cases, your repair routine is the same. You’ll need to scrub the spot with acetone to remove the surface gel coat.
Then sand the crack or dent to smooth it out and remove any visible dirt. Sanding works by scraping off the surface material, so do it carefully to ensure you don’t end up drilling a hole in your hull! Start with coarse sandpaper and work your way down to finer sandpaper grains.
Step 6: Fill the Holes or Cracks
Depending on how bad the damage is, use Gelcoat paste, fiberglass filler, or fiberglass hardener to seal the gap. Wipe the area with acetone first, to remove any residue. Then mix up some thick Gelcoat paste in the right shade and carefully apply it on the spot with a trowel.
Scrape off any excess material, making the spot as flat as possible. If the crack is deeper, use a mixture of fiberglass filler and fiberglass hardener before finishing off with gel coat paste on top. Put a piece of plastic film or wax paper over the repair job to keep out any dust or grit.
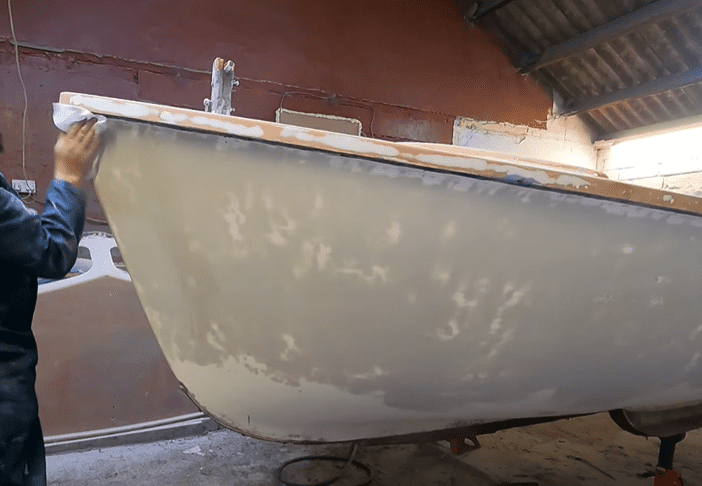
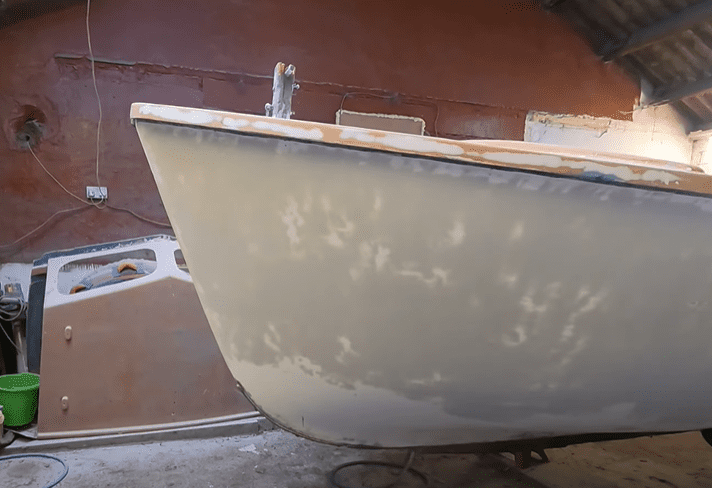
Step 7: Sand the Surface of the Boat
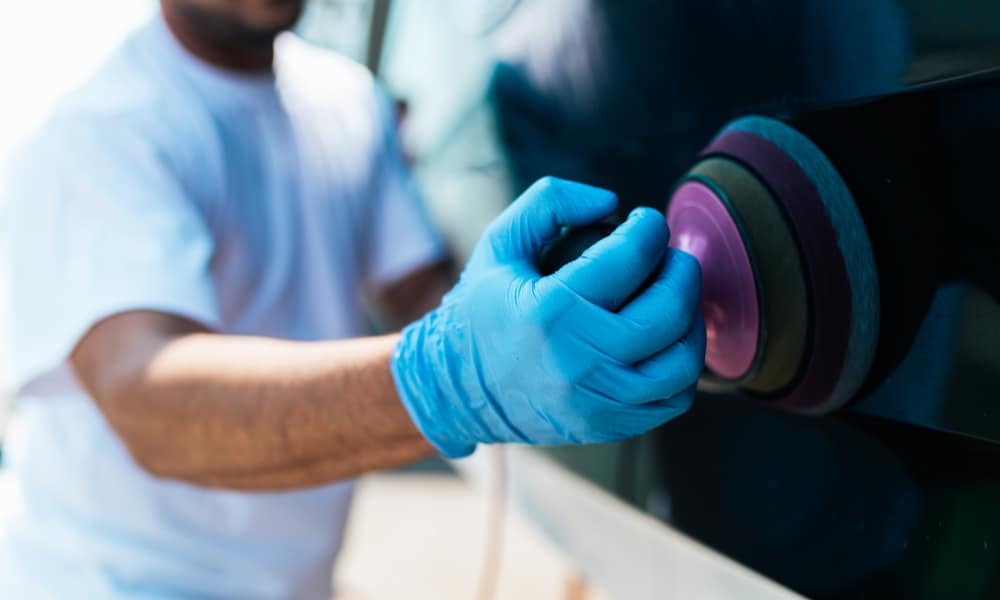
The rougher your boat surface is, the easier it will be for your gelcoat to adhere to the hull. So first, use some acetone to clean off the old gelcoat, whether it’s a small repainting patch or the whole boat. After the acetone, use sandpaper or your preferred mechanical sanding tool.
Wet sanding is best, but use a spray bottle with water and mild dish soap to dampen the area. Just spritz a small section then use elbow grease to sand. It’s faster to dip your sander in a bucket of water. But if you do, residue from the water might mess with your paint job.
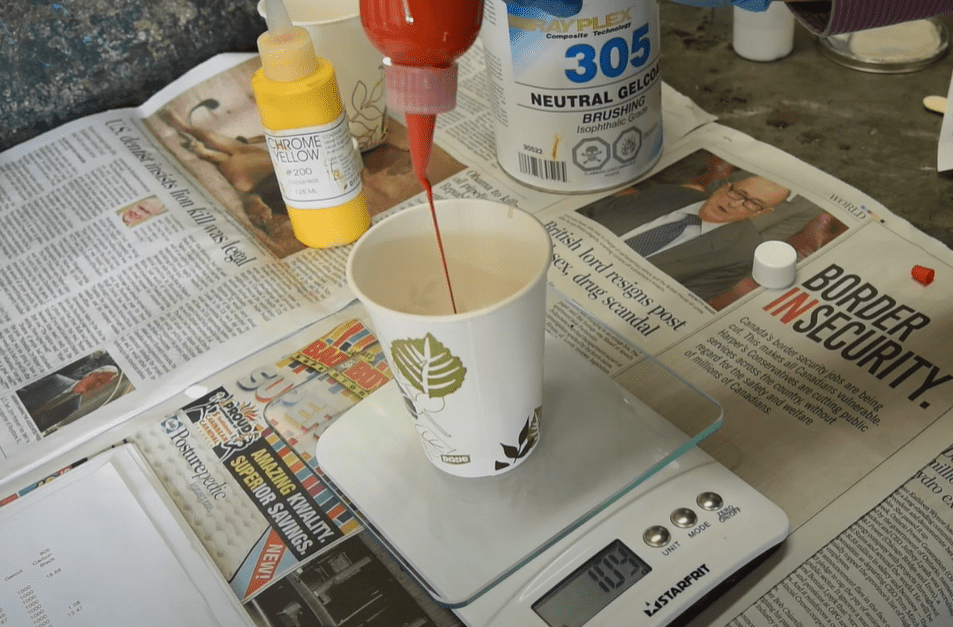
Step 8: Mix Your Gelcoat Correctly
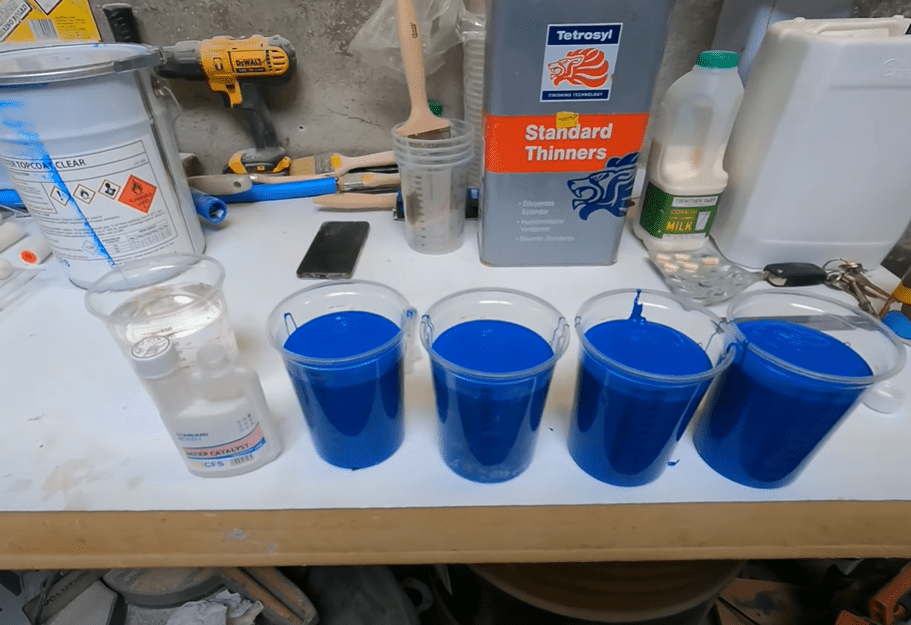
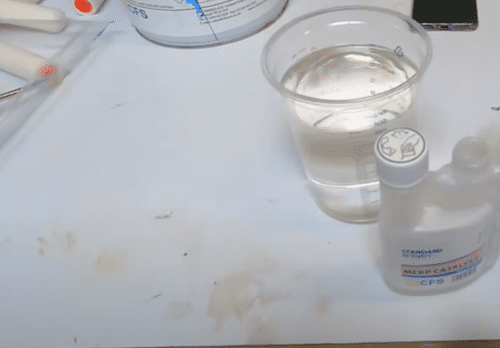
The amount of paint you use will depend on how big an area you’re gelcoating. On average, if you prepare a batch of 20ml to 25ml, you can cover 40 to 80 square feet with a gallon of gelcoat. The gelcoat needs a catalyst, and you only need a small amount or it’ll be too fluid.
You may have noticed we listed paste, liquid, and spray gelcoat among your supplies. The paste is for repairs, so you need it on hand in case of unseen damage. For the paint job, you can opt for a liquid or spray gelcoat according to your preference. Buy the right applicator.
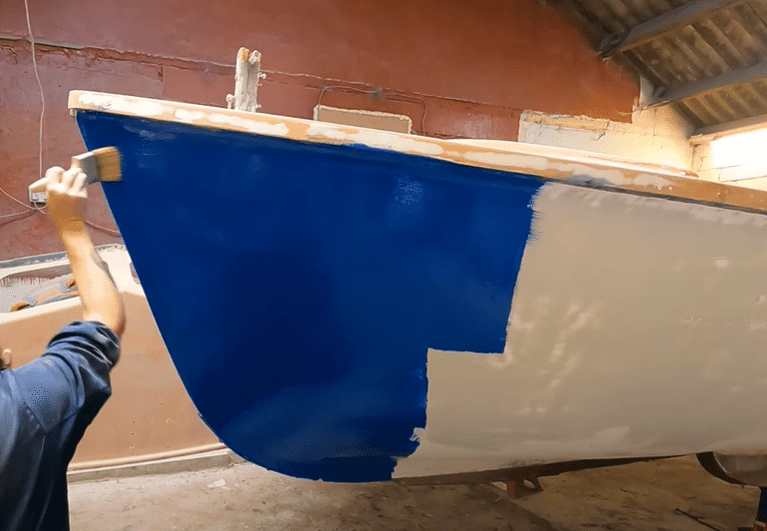
Step 9: Apply Your First Gelcoat

After wet sanding, let the boat dry completely. You can use another round of acetone to remove any remaining bits of sandy residue. Now you can start painting the boat using your chosen applicator. Spray bottles can be speckled, so do a pre-spray to release any fluid drips.
For a spray bottle, test several times to make sure the paint comes out evenly. For a brush, use thick dabs and careful strokes. For a roller, spread the paint evenly, then use a slimmer brush to neaten your work. Remember, the paint globs within 15 minutes or so … work fast!
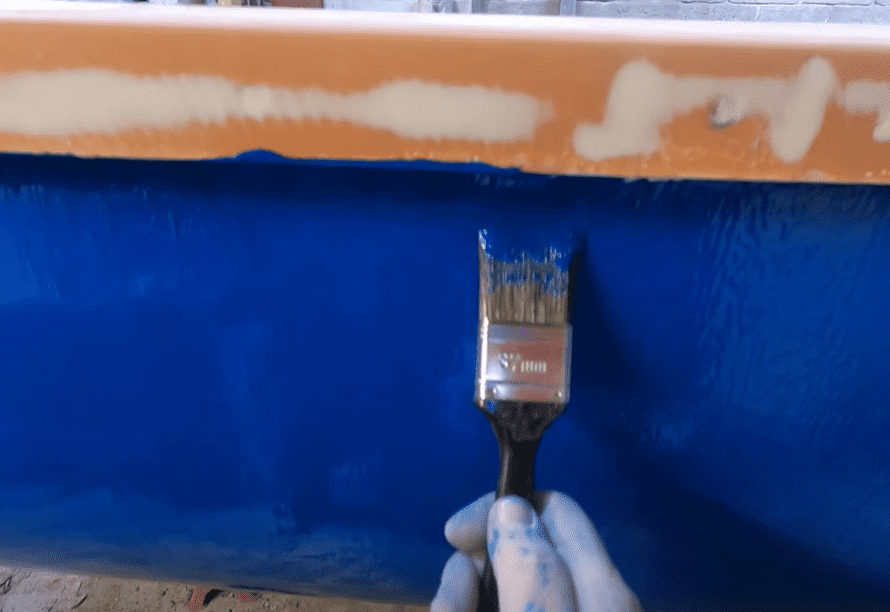
Step 10: Cure and Sand the Gelcoat
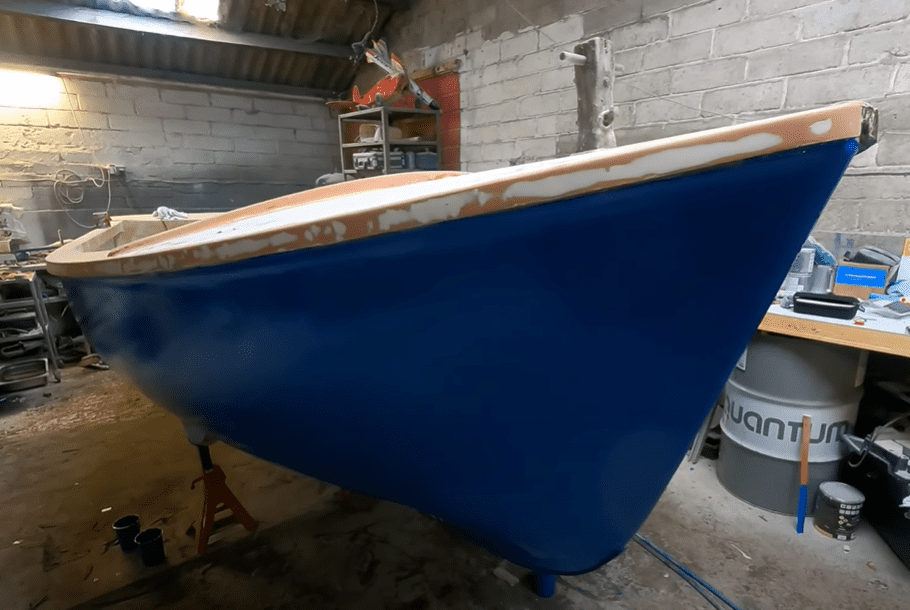
Ideally, you want two or more layers of gelcoating on your boat. The thicker the coat, the brighter the color and the longer your boat protection will last. You might even want to add a clear laminating gelcoat on top for added shine and extra cover, though it’s not necessary.
But remember, the more coats you apply, the longer your task will take. This is because each layer of paint has to dry completely before you add an extra coat. Once the paint is dry, run your sander or fine sandpaper over the gelcoat layer so it gets rough enough for the next coat.
Step 11: Rub a Dub the Tub
Sanding between paint layers has several functions. It will smooth out any bumps or raised areas and can call your attention to any flaws or air bubbles. Fine sanding is best since you don’t want to undo the paint you’ve just done. (Or worse, create uneven layers of gel paint!)
But after you apply your final gelcoat – whether it’s a clear coat or a colored one – you don’t need to close with a sander. Instead, run your hands along the dried paint to check whether it’s all flat. If you find lumps, use a rubber compound to smooth the surface and brighten it.
Step 12: Polish the Gelcoated Boat
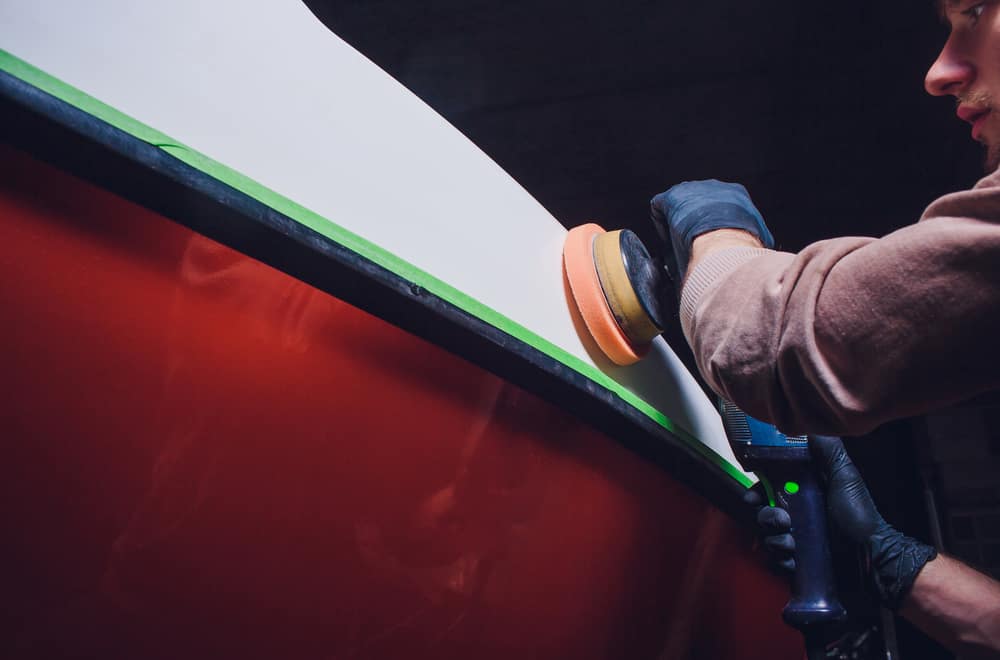
After your eyes and hands are happy and everything seems set, a coat of polish can be helpful. Think of it like your car – polishing it after a good wash will help the paint stay stronger for longer. Use the right polish product for your boat, possibly the same brand.
Boat polish has special ingredients that prevent your boat from rusting. Many polishes also have anti-staining properties that make it harder for mud and gunk to stick to the boat. But just like detailing your car, polishing requires fresh air and elbow grease, so take your time!
Step 13: Wax the Boat
Many boaters get mixed up about the difference between polish and wax. As a primer, wax is often natural while polish is synthetic. And they serve different purposes. We’ve mentioned that polish deters rust and corrosion. Wax is more of a cleanser and keeps off impurities.
This means a top coat of wax will prevent salt, minerals, water-borne materials, UV damage, and even things like bird poop from sticking to your boat. But does your boat need both? Yes. Especially after applying a new gelcoat. It will preserve your boat until the next deep wash.
Additional Advice on How to Gelcoat a Boat
If you’re a fan of Dr. Strange, you might remember his deadpan advice. To paraphrase, he says you should always read books up to the last page because the warnings often come after the spell. Similarly, if you’ve read this far, it’s time to give you a few extra tips to finish off.
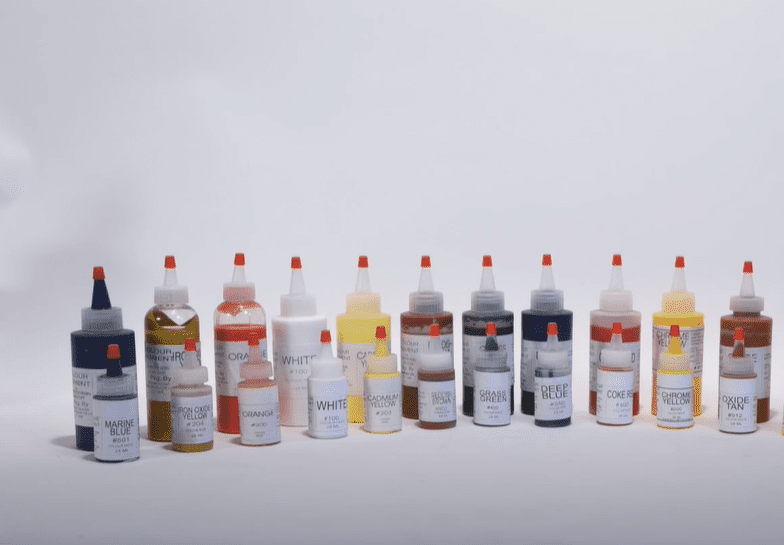
Pro Tip #1: Mix Your Paint Right
If you can’t get the exact color you want, you may have to darken or lighten your gelcoat. Don’t just add black or white, since that may ruin the batch and you’ll have to start over. Try these color matching tips instead, adding a little at a time until you get the right shade:
- To lighten blues, add a dash of yellow, and vice versa.
- To counter red, add a little bit of green, and vice versa.
- Only use black to darken white, or white to lighten black.
- Check the color when it’s wet and when it’s dry.
- Use a piece of clear glass and some tape to confirm.
- Wax and dry the glass first for best results.
- Inspect the color in various lighting conditions.
Pro Tip #2: Use Multiple Cups
When gelcoat is in a container, the particles stick together and glob up so the paint gets gummy within 10 to 15 minutes. So it may be helpful to pour your paint into several smaller cups and add the catalyst to one cup at a time. That way, you won’t waste any of the gelcoat.
Pro Tip #3: Remove Excess Hairs

Buy a good paintbrush and test it to make sure it doesn’t leave bristles on the boat that could stick onto the paint. You don’t have to buy a pricy brush, but it shouldn’t shed. If you’re using a roller, put your tape around the roller head then yank it off. That catches any stray hairs.
Pro Tip #4: Have Some Thinner Handy
Gelcoat dries quickly, both in the dish and on your applicator. So keep a small dish, trough, or cup nearby and fill it with thinner. You can dump your brush or roller into it as soon as you’re done so you can clean off any paint residue before it gets gummy and impossible.
Pro Tip #5: Allow Enough Drying Time

When gelcoat is in a dish, it can clump in about 20 minutes. But once it’s on the boat, it can take an hour or more to dry completely. So if you’re doing several coats, be strategic in your planning and multitask. You can find more interesting activities than watching the paint dry.
Quick Tips on How to Apply a Gelcoat to a Boat
Now that you understand why and how to apply a gelcoat to a boat, let’s review the process:
- Clean the boat thoroughly and wipe it dry.
- Double-check that the gelcoat matches correctly.
- Identify and repair any surface cracks or damage.
- Let the repairs dry before adding your final gelcoat.
- Cure and sand the boat between coats if you’re doing more than one.
- Polish, wax, and buff your boat to make the shine last longer.
Do you have more tips on how to apply a gelcoat to a boat? Tell us in the comments section!