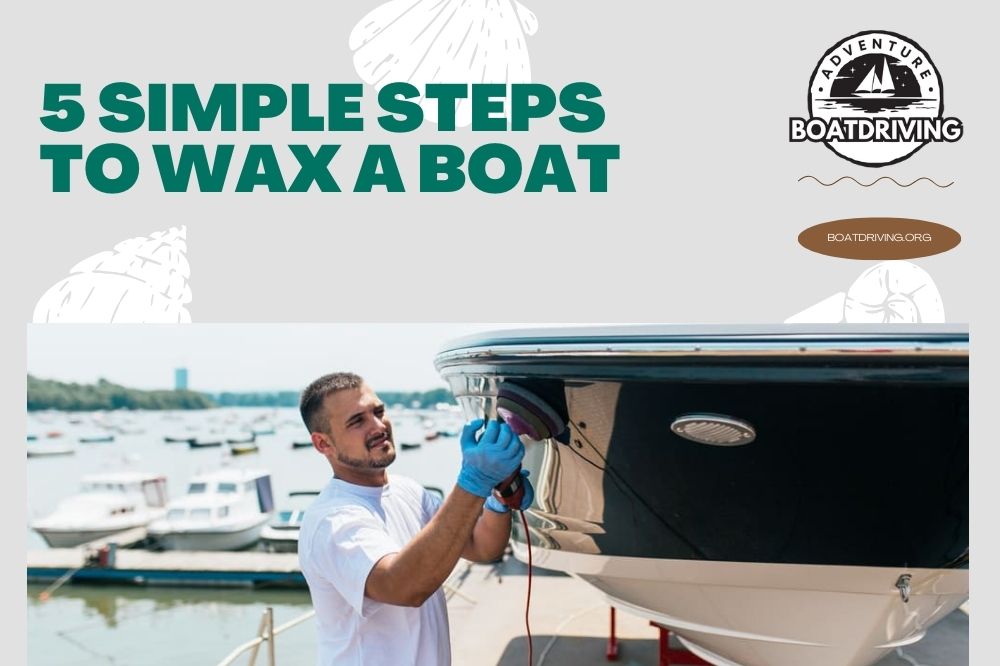
Waxing your boat’s exterior is similar to applying sun lotion to your skin before laying out at the beach. So, as you ready your boat for the upcoming season, be sure to protect its body from hours upon hours of fun-in-the-sun.
Waxing is not an overcomplicated job, but there is a specific process to follow for best results to ensure your boat is fully protected and stays looking good.
Table of Contents
Things You Will Need:
- Access to running water
- Boat carport (best case scenario)
- Trusted surface cleaner
- Soft-bristle long-handled boat brush
- Sponge
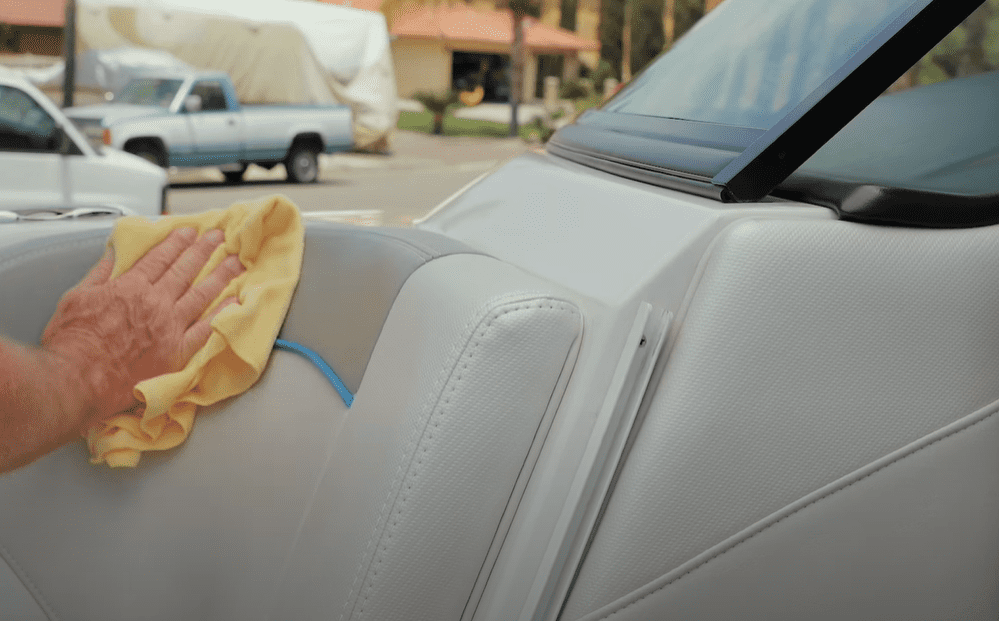
- Microfiber cloths
- Polishing Compound
- Marine-grade wax
- Power Buffer
How To Wax A Boat?
Excitement is on a high as people around the nation begin to prepare for the upcoming boat season. Some of you may be de-winterizing for the first time, or maybe you have already logged some hours this year.
Waxing is an essential, regular maintenance item that you should commit yourself to every month as a boat owner- especially if you are cruising saltwater bodies.
Your boat’s exterior can begin to look unsightly and become more susceptible to damage when uncared for. Let me also mention that besides not looking its best, your boat’s performance is also significantly affected by its cleanliness.
Believe it or not, dirt and grime can create a drag factor on your boat when navigating through waters, thereby reducing fuel efficiency.
Waxing your boat is one great way to protect your investment and keep your boat looking and performing well for years to come. I will guide you along each step of the process and point out any essential tools to help you along the way.
In total, there are 5 distinct steps involved with waxing your boat, including:
- Pre-Rinse
- Clean
- Rinse
- Polish
- Wax
As you read through each step, please take note of the various PRO-TIPS included- they will save you time, energy, and money.
Step 1. Pre-Rinse
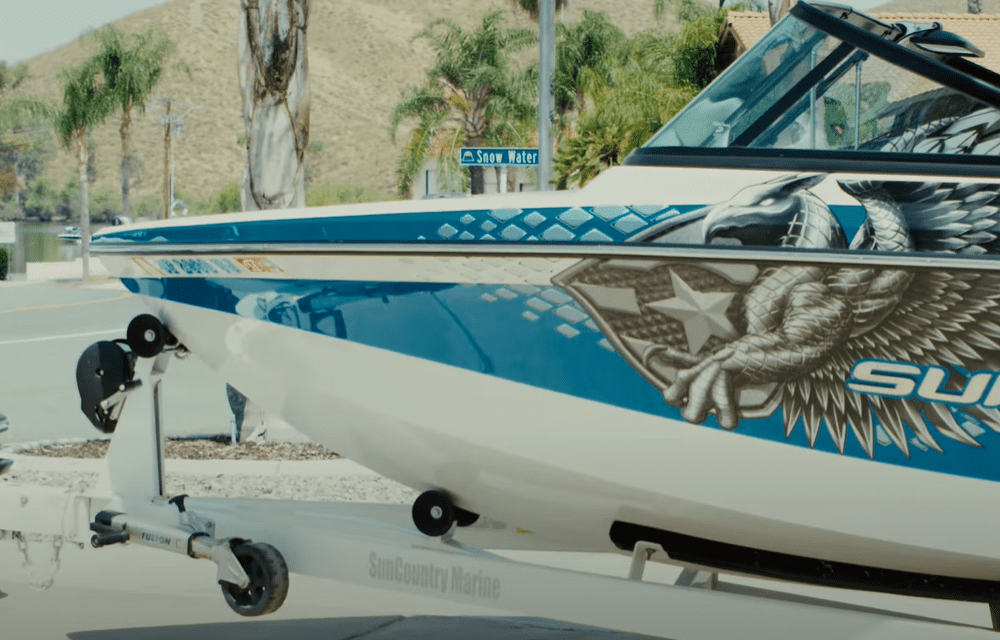
Before you begin to wash your boat’s exterior, find a flat surface that you can use, and if you have access to a boat size carport-use it by all means as this will help prevent the sun from drying cleaning product too fast.
Next, ensure that your boat is securely fastened to a trailer so that no unwanted movement occurs during the cleaning and waxing process.
If you have everything you need nearby, then it’s time to get wet. First, give your boat an excellent pre-rinse to remove any loose dirt, grime, and debris matter from your boaty’s exterior.
A good pre-rinse also readies your boat for the cleaning product that you will apply next.
PRO TIP: Spray from top to bottom to prevent any build-up of dirt and debris in corners, angles, and other tight spaces.
Step 2. Apply Surface Cleaner
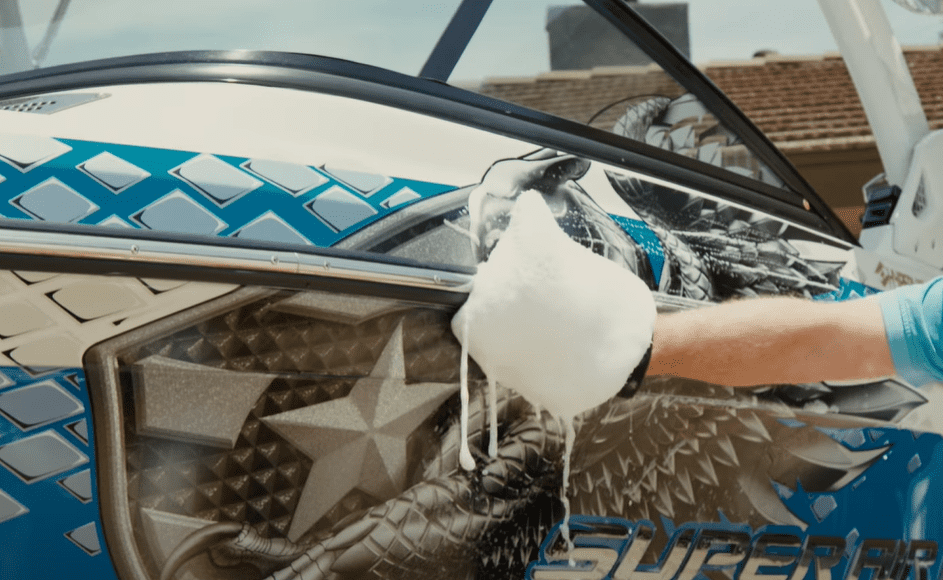
After a good pre-rinse, it is time to pull out the scrubby bubbles. Depending on how stubborn the grime is, you may switch between a soft microfiber cloth, marine-safe sponge, or a soft-bristle boat brush to get the job done.
Choose your favorite marine-grade non-abrasive cleaner, such as the Ecoworks Marine Deck Cleaner. Many boat friends, including myself, keep turning to this company for our cleaning needs.
From the exterior to your boat’s interior, in addition to area-specific solutions for heads, kitchen, and laundry, Ecoworks provides an environmentally safe product that works- really well, at that.
PRO-TIP: When using a concentrate, make sure to follow the manufacturer’s recommended dilution ratio for best results.
Proceed to scrub the entire surface of your boat thoroughly to remove all build-up. You may find it necessary to apply a little extra elbow grease with a sponge for dirtier areas.
Homemade solutions can help with tough stains or hard-to-reach areas on your boat.
Step 3. Rinse
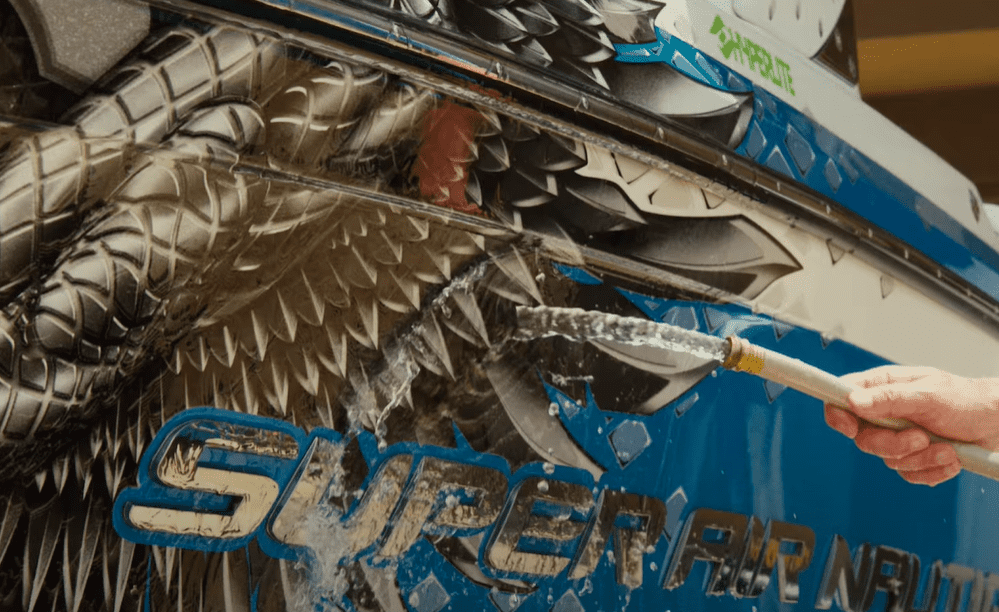
After you have finished scrubbing your boat, then turn your hose back on and give it a good rinse. Ensure that you spray the water around any seams and fixtures well to remove any lingering or trapped soap.
At this time, you ought to give your boat a good walk-around, looking for any dirty spots you may have missed. If you do, repeat the washing step.
Now that you have cleaned your boat’s surface thoroughly, it’s time to let it dry completely.
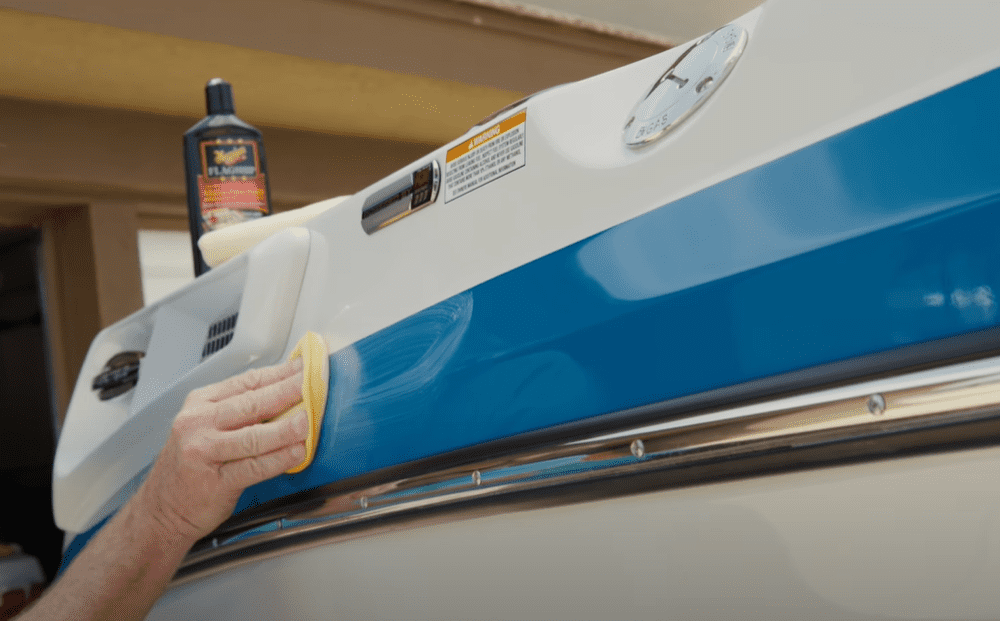
Step 4. Polish And Buff
Before we continue, I need to mention that some boaters will select a dual-purpose compound that polishes and waxes your boat’s surface simultaneously.
However, I highly suggest utilizing a two-step product for better overall durability and protection for this article.
A polishing compound works to eliminate minor blemishes on your boat’s surface while also restoring it to its original brilliance and luster.
Remember to find a compound suitable for your boat’s construction: wood, aluminum, or fiberglass. Also, most manufacturers offer varying gradients of compound strength depending on your boat’s surface condition.
Apply the polishing compound in small sections to ensure complete coverage. Of course, you’ll want to make sure to follow the manufacturer’s instructions; however, generally, you can either apply the compound with a soft cloth or electric buffer using a circular motion.
PRO TIP: Polish your boat gently, slowly, and consistently.
Run over your boat’s entire exterior with a polishing pad to complete this step of the process.
Step 5. Wax On, Wax Off
Again, before you are ready to wax your boat, make sure that the wax you choose is suitable for your boat’s surface. Furthermore, it is always good to ask your manufacturer for recommendations.
Boat owners worldwide trust Meguiar’s Marine/RV Pure Wax to protect their boat surfaces from different water environments. This product is easy-to-use and leaves your boat looking as good as new.
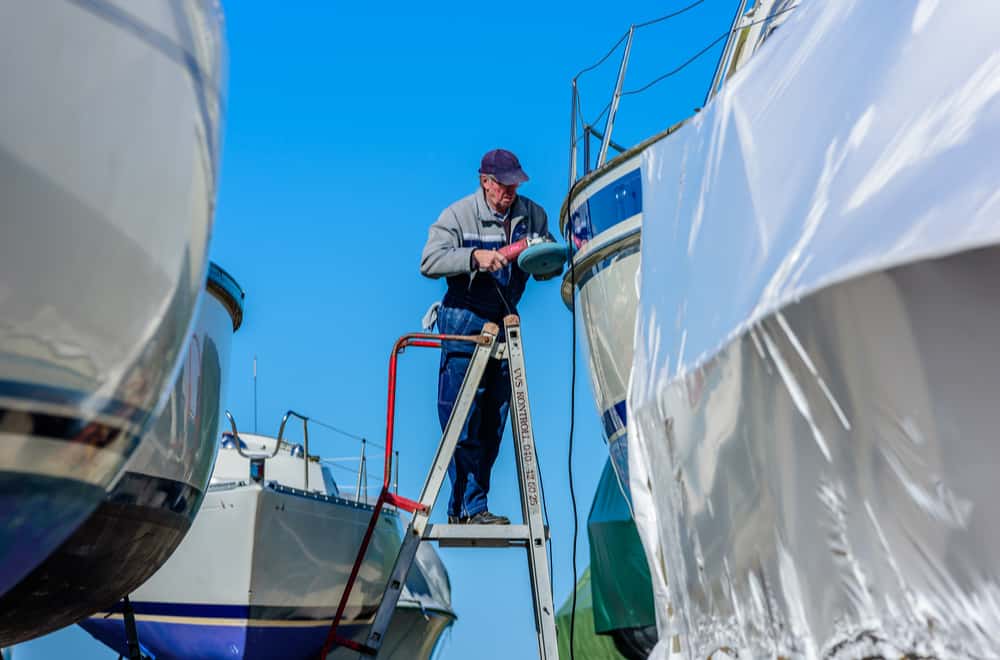
Applying your favorite wax by hand is acceptable; however, an electric buffer will make your job that much easier. Be sure to use a steady circular motion to apply the wax to your boat by section.
Once your entire boat is covered entirely, give it a few moments to dry. You’ll know it’s time to move on to the next step once you begin to notice a hazy film appear on your boat’s surface.
The final step of the waxing process is to buff the wax- as you move along, you will slowly see your boat come back to life in all its former glory. For best results, you will want to use a similar method as suggested earlier with the polish- slow, gentle, and consistent.
Extended Tips
As you have seen, waxing a boat is a very systematic job that is relatively straightforward but labor-intensive. Here are some other pointers to make the most out of your boat’s day at the ‘your’s truly’ spa.
- Be sure to dedicate enough time to complete the entire process from start to finish.
- Employ friends and family to help if you have a larger boat. If you go this route, be friendly as you explain how to do the various tasks.
- Choose an electric buffer (if you choose to go this route vs. a hand application) that you can handle. I suggest that you hold several floor models before making a purchase. I have been on the Makita bandwagon, so I use the Makita 7″ Polisher- although you can find quality polishes for much cheaper.
- Use the prescribed amount of solution throughout each step. Under or over-saturation can make the job ineffective- not to mention more work and material waste.
- Work slowly and precisely. As you come across lettering, emblems, decals, or other accessories, use special care not to rub these more delicate areas with too much force.
How Often Should You Wax Your Boat?
The truth is, if you read ask five different boat owners this same question, you are likely to be given five very different responses. If you perform each step with care, waxing your boat too often is impossible.
That said, use your best judgment to come up with a waxing schedule that suits you and your boat’s personality. Regular cleaning (a thorough rinse down after each use) is paramount to the longevity of your boat’s surface.
Take into consideration the particular water environment that you cruise in and how often you use your boat. In addition, how you store your boat between use is also worthy to note.
Boats used several times a week and exposed to the sun all-season long should be waxed more often than a boat kept underneath a carport between less frequent use.
Some will recommend waxing your boat at least twice a year, and some will say every three or four months. Honestly, I enjoy cleaning and waxing my boat and turning it into a monthly activity that my entire family enjoys participating in.
Conclusion
Waxing your boat is periodically is an essential function of boat ownership. It preserves and protects your investment and keeps your boat looking good as it moves across the water.
Be sure to choose cleaning and waxing products that suit your boat’s construction and pick the electric buffer that feels comfortable in your grip.
Remember to follow the steps in this article for best results.
Please leave any questions or concerns about how to wax a boat in the comment section below.

Joseph Fabiano is a writer, nature enthusiast, and stay-at-home father of two wild and free boys. He enjoys starting his day with a good run, hot mug of coffee, and a jump in the Ionian Sea, no matter the weather. Currently based in the Apuglia region of southern Italy, he enjoys discovering the world with his best traveling buddies (his little monkey’s and beautiful wife) at every given opportunity. Every trip, long or far, should be made an adventure according to Joseph as he believes inspiration and creation is right in front of you.