If you’re a fan of retro sitcoms, you’ve probably seen the gag where someone botched a boat launch. It usually involves a cracked champagne bottle and someone tripping over rope. But what’s the right way to get your boat into the water? We’re going to give you tips on how to launch a boat safely even when you’re sailing solo. Don’t worry, it gets easier with practice.
How to Launch a Boat
Step #1: Consider the type of boat you have.
If you’re learning how to launch a boat, you may get lost in the jargon. So just in case you’re unfamiliar, read up on the most important parts of your boat. If you can, check your model. Think about the surface of the dock. Is it dirt, gravel, wood, or sand? Can your truck take it?
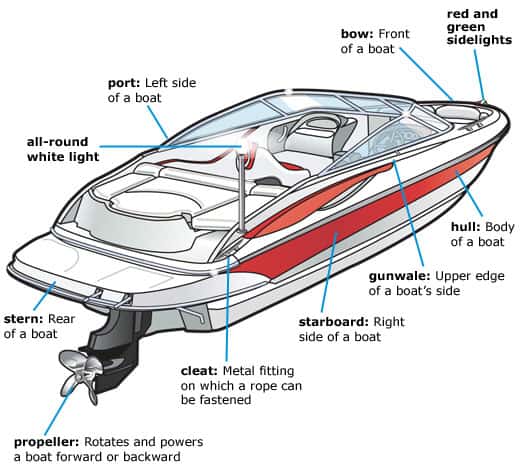
The most functional parts in boat launching are the safety locks, the winch, the cleats, and the lines, so look online for a diagram on boat parts. It helps if you can get a photo or video so you can directly compare it to your boat and figure out where all those parts are on yours.
It can also be helpful to think about the type of boat you have. What shape is the bow and how wide is the stern? What’s the draft of your boat i.e. how low does it sit in the water? The shape and size of your boat will affect how it fits on the launching ramp, so keep an eye out!
Step #2: Pick a parking spot away from the dock.
First off, even the best boating pros struggle with boat launching. There’s a lot of swearing involved. So if you’re launching your boat for the first time, try doing it on a weekday. You can ask the staff at the ramp about the days and times with the fewest number of boaters.
This isn’t an essential step, but it will be far less stressful for you if you don’t have seasoned boaters yelling advice at you. At best, they can embarrass and demotivate you. At worst, they’ll get impatient and start rushing you, which could make you damage your own boat!
So pick a quiet day and have a chat with the ramp staff as you prep. There’s often a launching fee, so you can get a few tips at the office or payment booth. Park in the staging area or in a parking lot that’s out of the way. Move your gear off the car and pack it carefully on the boat.
Step #3: Walk down to the dock and check things out.
Make sure your car and boat and locked tight, slip in some earbuds, and walk down to the dock. You want to look calm and confident so the boating pros don’t haze you. And you don’t want them distracting you or shifting your focus. On the other hand, you could talk to them.
Some novice boaters are excited and giddy, so they don’t mind looking like newbies and asking a million questions. If that’s your nature, strike up some friendly conversations with the people around. They might offer gentle tips if you approach them with an open mind.
As you explore the dock, check how steep the ramp is and how deep the water is. The staff and other boaters may suggest waiting for a higher or lower tide. Check how sturdy the dock is, or whether it has slippery moss. Watch a few of your compatriots launching their boats.
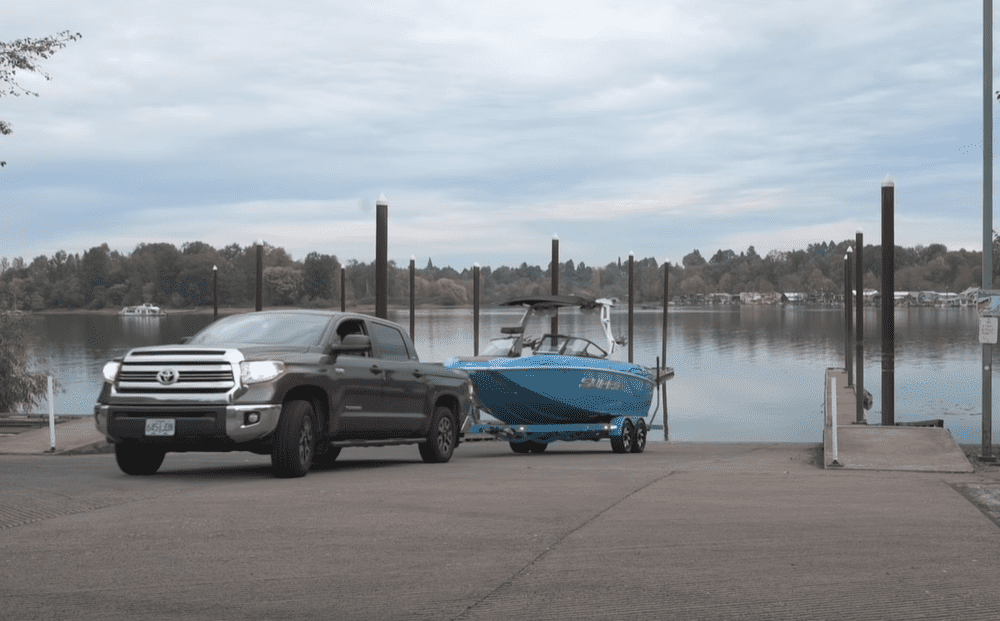
Step #4: Move your car closer to the launching ramp.
Once you’ve watched long enough to have a feel for the launching process, you can bring your trailer closer to the ramp. On a busy day, there’ll be a queue, so take your position and wait. It can be useful to talk to other boaters in line with you, they might offer practical tips.
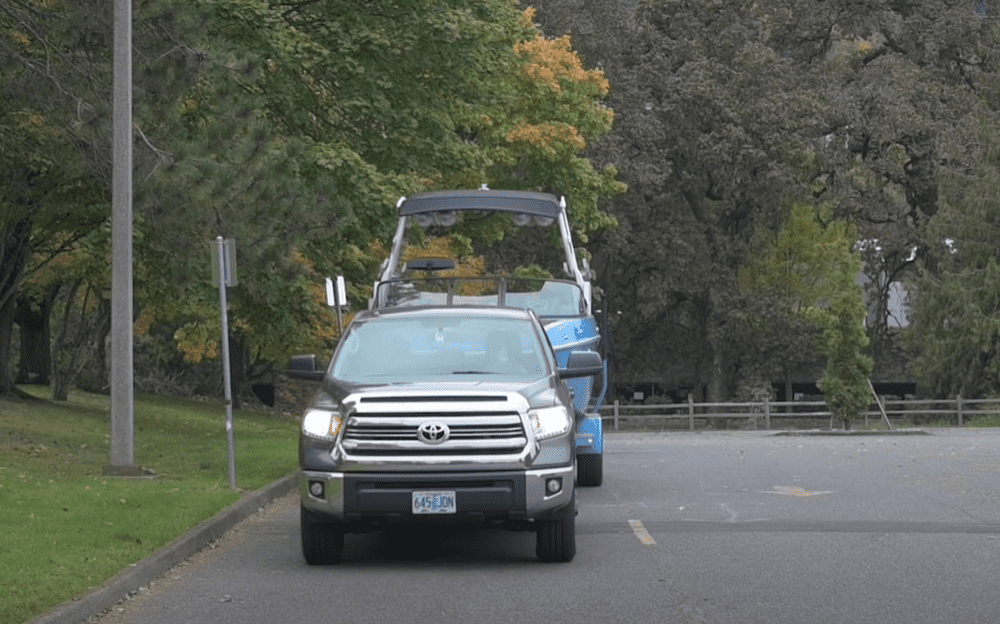
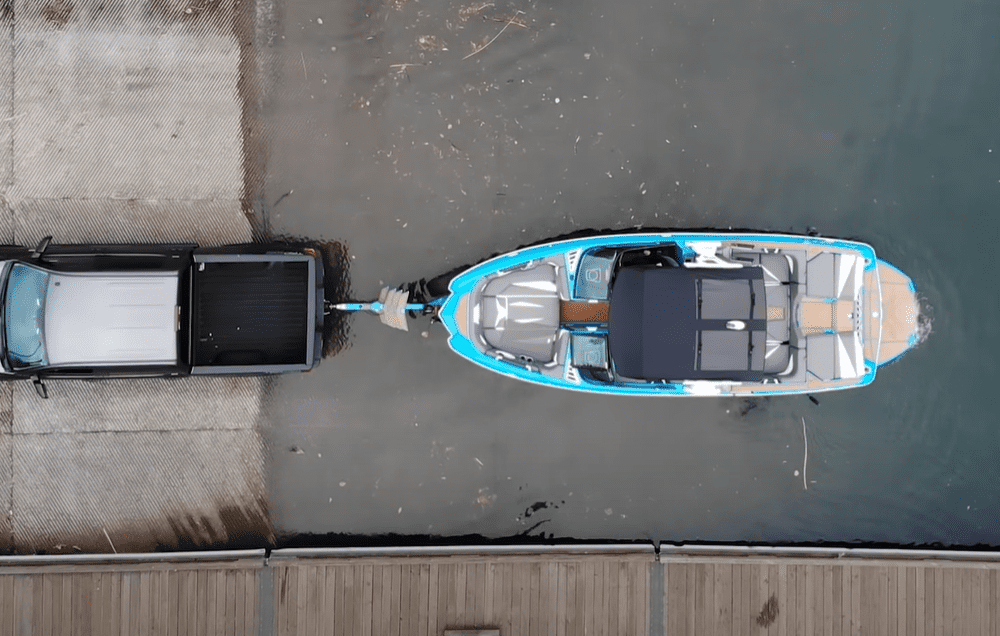
You’ll want to put your car in a reverse position facing the dock. When it’s your turn, drive the car right up to the ramp and align it as straight as you can along the ramp. This is especially important if the ramp is narrow since you want to drive directly in between.
Reversing can be tricky, so unless you’re a parallel parking pro, it helps to practice at home. A few times a week, take the car out and rehearse reversing, both with and without the trailer. And if you don’t have a partner to spot for you, use a longer docking line for the bow.
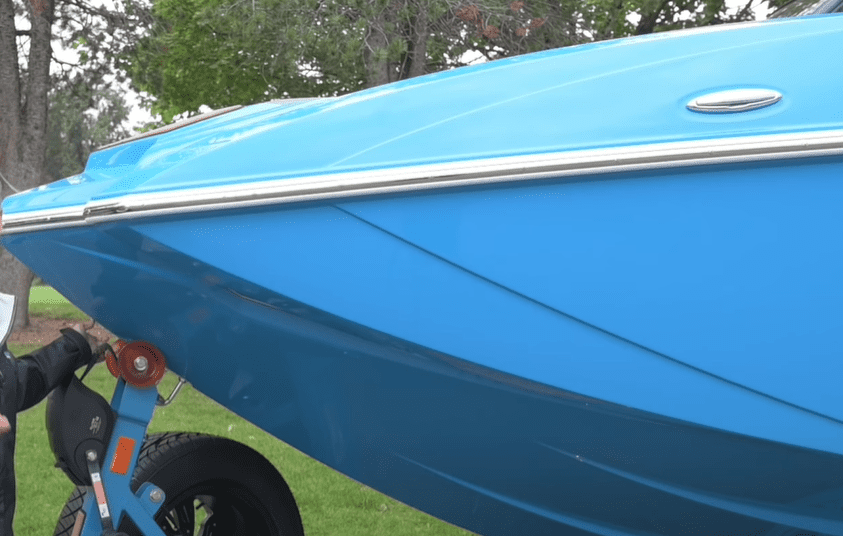
Step #5: Check your drain plug and put the boat key in the ignition.
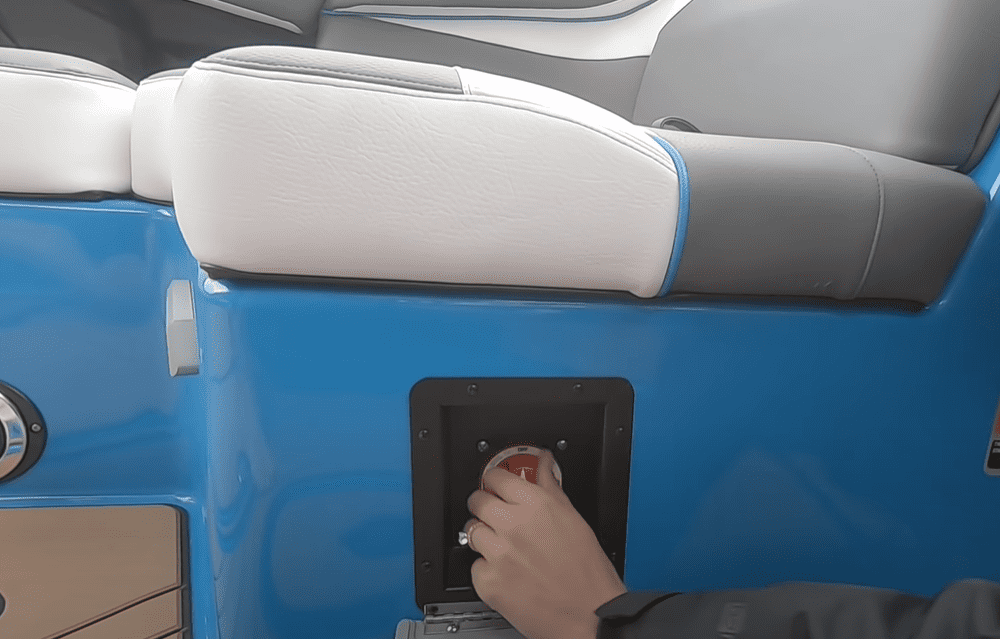
The drain plug is a bolt that sits under the boat, next to the keel. It’s an important piece because when your boat is parked at home, it can be dry-docked or wet-docked. Wet-docking is for waterfront homes, meaning your boat floats directly on the water in your backyard.
Dry-docking is when the boat stays dry in the garage. In such cases, you’ll unscrew the drain plug to let any excess water that could damage the boat between trips. So whether you’re dry-docking or wet-docking, check, screw, and/or tighten that drain plug before you launch.
This will prevent water from getting into the boat and ruining its innards. You should also put the boat key into the ignition and turn it on to warm up the battery. But don’t rev the boat! Just put the key in the ‘on’ position to be sure the boat battery is working correctly.
Step #6: Secure your boating gear and set up your fenders.

While some boaters unpack their cars and load their boats at the dock, it’s likely to draw hostility because it slows everyone down. Ideally, you should have loaded your gear at home, in the staging area, or the parking lot. Right now, your only worry should be boat fenders.
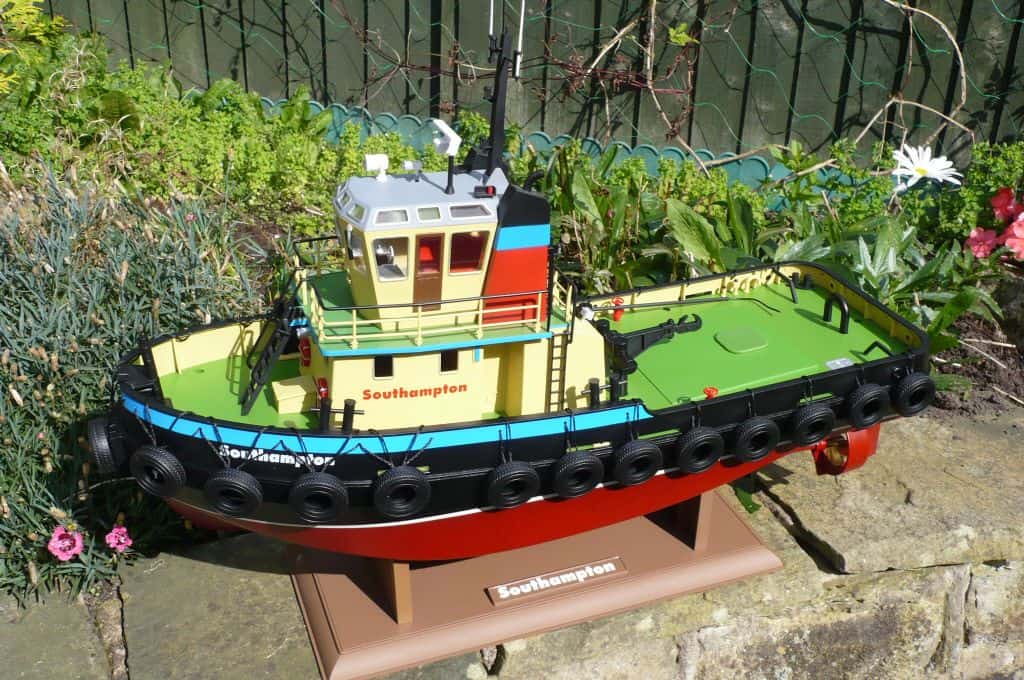
These are cushions or buoys that you place on the sides of your boat to prevent bumps and scratches. They can be inflatable – in which case you should blow them up at home. On tug boats, old tires serve as bumpers. Attach your fenders/bumpers on the side facing the dock.
Step #7: Remove your transom straps and attach your dock lines.
Some people use the terms boat fender and boat bumper interchangeably. They have the same function – they keep the boat and the dock cushioned so they don’t get cracked, dinged, or smashed during launch. The difference is in their structure, construction, and attachment.
Fenders temporarily hang over the side of the boat while bumpers are permanently fixed onto the boat. And the thing with boating is lots of ropes and knots are involved. Transom straps tie the boat to the trailer while you drive, so you’ll need to untie them at this point.
You’ll also need to take out your dock lines and tie them to the cleats. Don’t just attach the rope anywhere, since the rope could get yanked off. Secure them to the cleats positioned at the bow and stern of the boat. These cleats are sufficiently sturdy and waterproof for safety.
Step #8: Unplug your trailer lights and move the car to the ramp.
Trailer lights are driving guides that prevent collisions on the road. Other drivers can watch these lights to know when you’re about to brake, slow, pause, or turn. But these lights get hot as you drive. When they hit the cold water, the sudden temperature change could spoil them.
On older boats, this problem can be critical, so you’ll need to unplug the trailer lights and let them cool down. But newer boat models have waterproof trailer lights, so you won’t need to unplug them. That said, if you do disconnect the lights, remember to re-plug them later!
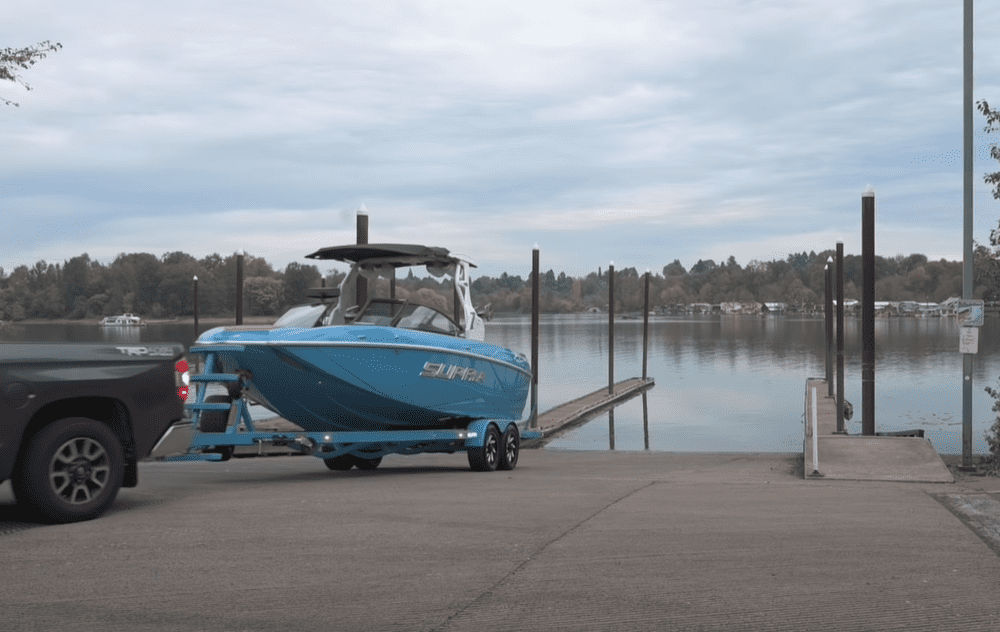
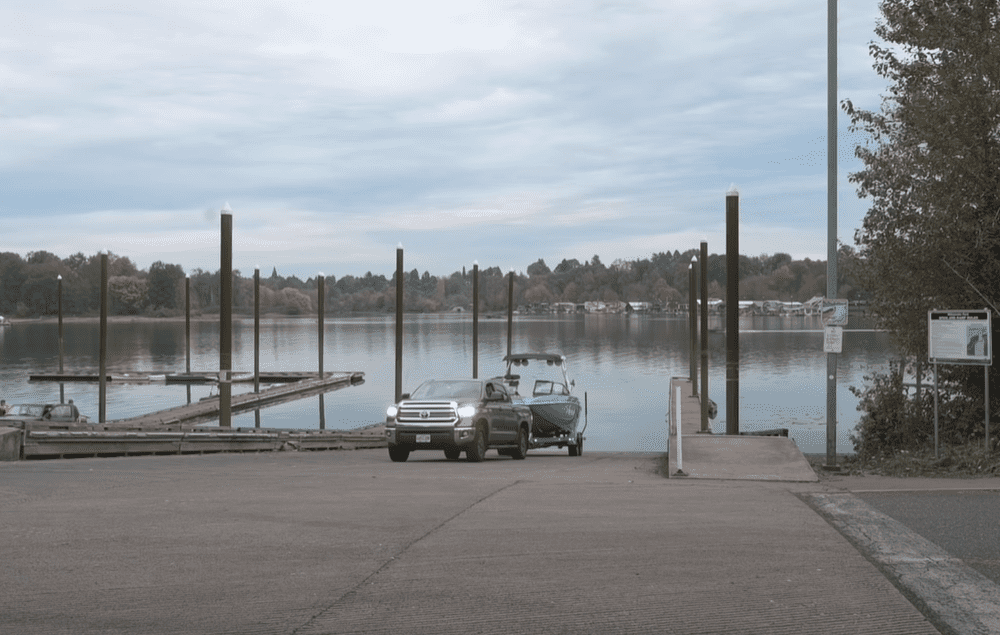
Now that your boat is all set (and you’re finally first in line), position your boat directly at the ramp. Check the width of your boat, your car, and the ramp to be sure they’ll fit safely. Get your mindset for the reversing process. Take a few deep breaths and wipe your car mirrors.
Step #9: Put your car in reverse and slowly drive down the ramp.
The most efficient way to reverse any car is to use side mirrors and rearview mirrors. But many drivers prefer to turn their necks and look through their rear windscreen. Or they stick their heads out the car window. This can get taxing when you’ve got a whole boat back there!
As you reverse, take your time, breathe deep, and curse if you need to – everyone else is! Other boaters may come out and yell instructions at you if you’re alone. But if you have a boating partner, they can probably guide you in less terrifying tones. Don’t be intimidated!
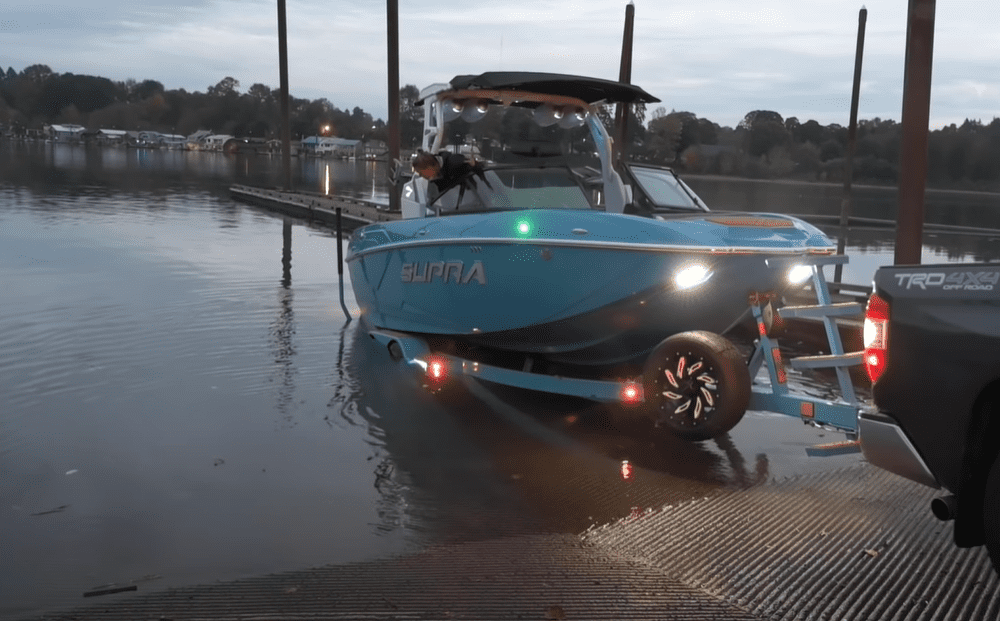
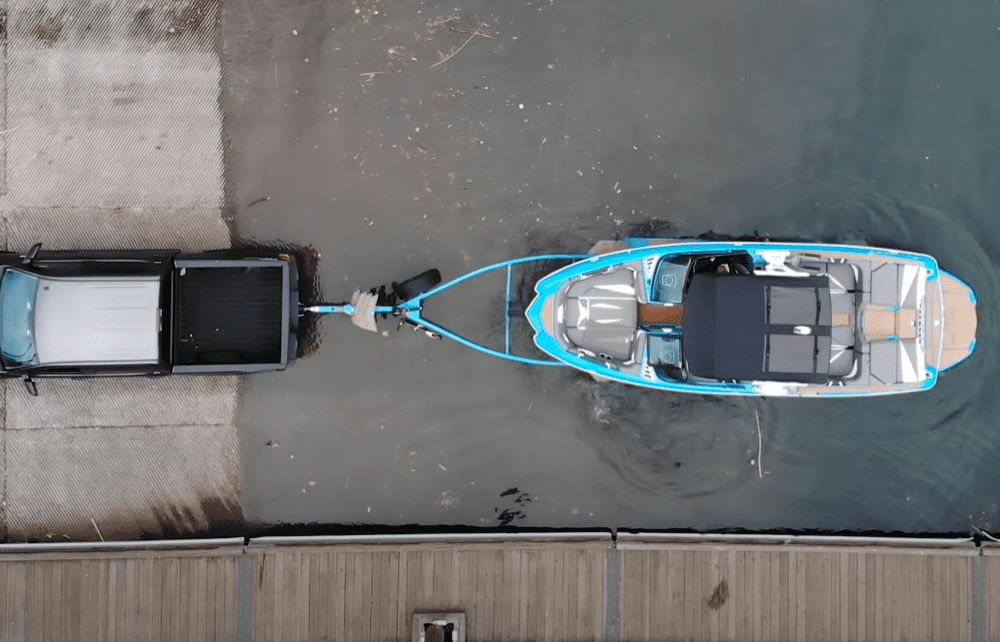
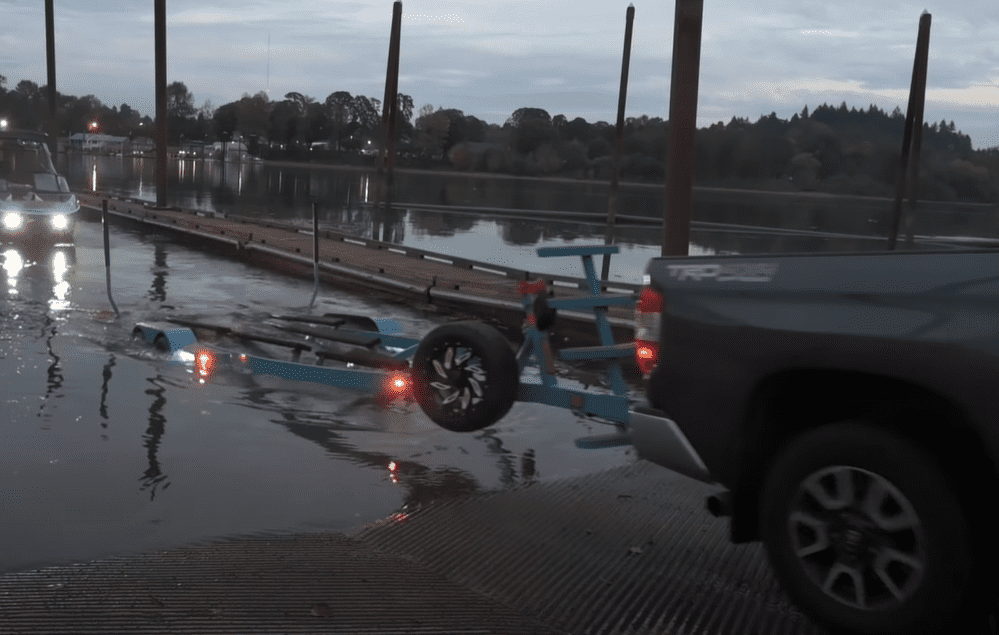
Even if you have harried boaters all around you, take your time and go as slow as you need to. You need to drive until the stern of your boat starts to float. This may mean your trailer wheels end up inside the water, and that’s okay. Just keep going until the stern is floating.
Step #10: When the stern starts to float, put your car in park.
If you have someone with you, you can put the car in park, stay inside the car and let them do the external work. If not, you’ll have to get out and do it yourself. In both cases, secure the parking brake so the car doesn’t roll and end up posing as a boat! Also, don’t hog the ramp!
At this point, you’ll want to work as fast as you can because the pressure will be mounting. But if the ramp is empty, you can take your time, which is why it helps to rehearse on low-traffic days. The trickiest part is reversing, so work on that until it feels natural. Give it time.
And remember that you’ll be reversing twice. You reverse the car to put the boat into the water, then you reverse the boat to float it off the trailer bunks. Remember to keep the bow eye attached to the trailer until the boat is safely on the water. Don’t pre-release the winch!
Step #11: Release the trailer and give the boat a little push.
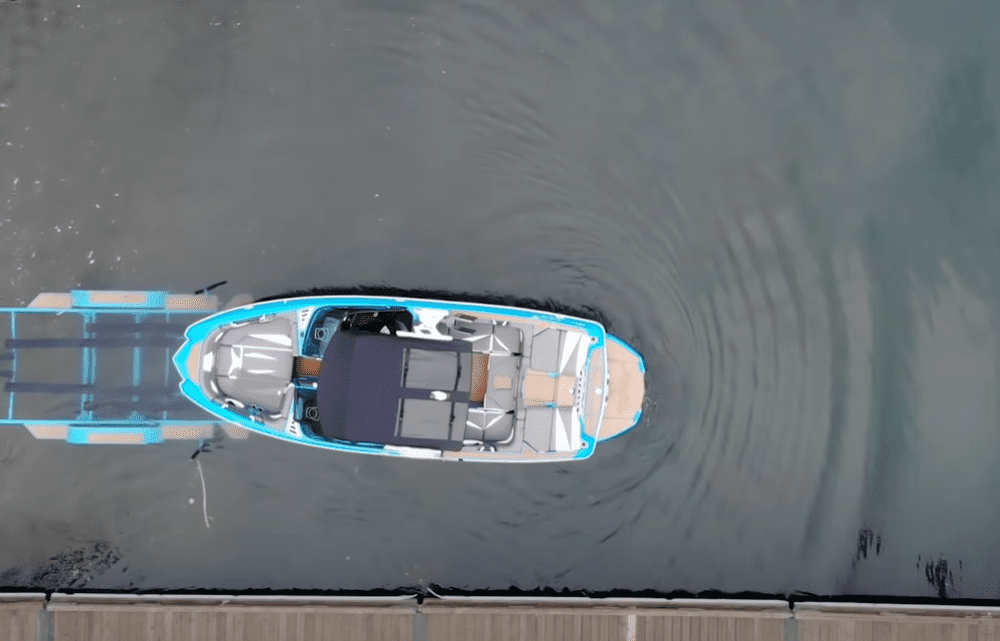
If you have someone with you, one of you can get inside the boat while the other works on the pier. But if you’re launching solo, you can still do it. Remove the safety chain at the bow of the boat and release the winch on the trailer. This separates the towing car from the boat.
Stand on the side pier and use the docking lines attached to the stern and bow cleats. Tug gently to ease the boat into the water. You may have to step into the water to do this, so you should have your boating shoes and sailing clothes. Other boaters might jump in to help you.
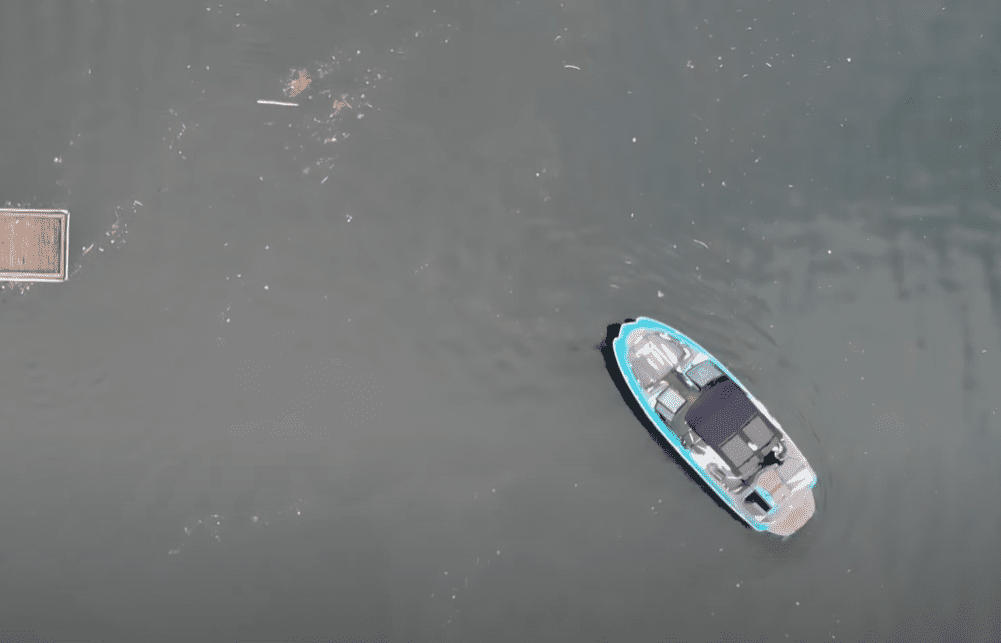
At this point, you’re still holding onto the docking lines. If you’re on the pier, tie the ropes to a sturdy mast to stop the boat from drifting. Once the hull is on the open water, you’ll have to get into the boat yourself. Lower the outdrive or outboard and turn the ignition to start the boat.
Step #12: Exit the boat and move your car.
This is easier if you have a partner, but you can still do it solo. You’ll have to get out of the boat and back into the car. With the boat rolling along but still attached to the pier via docking lines, get back to your car and drive it off the ramp so other boaters can use it.
Park back in the staging area or the parking lot to avoid blocking other drivers. Secure the locks and stow any valuables under the seats or in the main office – it’ll be a while before you get back to your car. If you had a partner, one can park the car as the other stays in the boat.
Step #13: Untie the boat one last time and off you go!
Once the car is sorted, come back to the boat. If you’re alone, one of the other boaters on the dock can untie those lines from the pier, leaving the boat free to move. If you have a partner, they can untie the docking lines then come join you inside the boat. Unhook the fenders too.
Now you can go off and enjoy your sailing journey. But as a beginner, you may want to keep the trip short so you can get back to the dock before it fills up. After all, re-attaching the boat to your trailer is equally nerve-wracking. You don’t want a jeering audience to pressure you!
Top Tips on How to Launch a Boat
You now have step-by-step techniques on how to launch a boat. But here are a few extra tips:
- Before you become a pro, practice launching on low-traffic days.
- If you unplug the trailer lights, remember to reconnect them afterward.
- Launching a boat involves lots of four-letter words, so be patient with yourself.
- On non-boating days, rehearse reversing the boat at home so it’s easier at the pier.
- As the boat is running, avoid inhaling carbon monoxide and/or exhaust fumes.
Do you have any other tips on how to launch a boat? Share them in the comments section!