Are you looking to spruce up your boat?
Is the original gel coat on your beloved boat looking old and worn out?
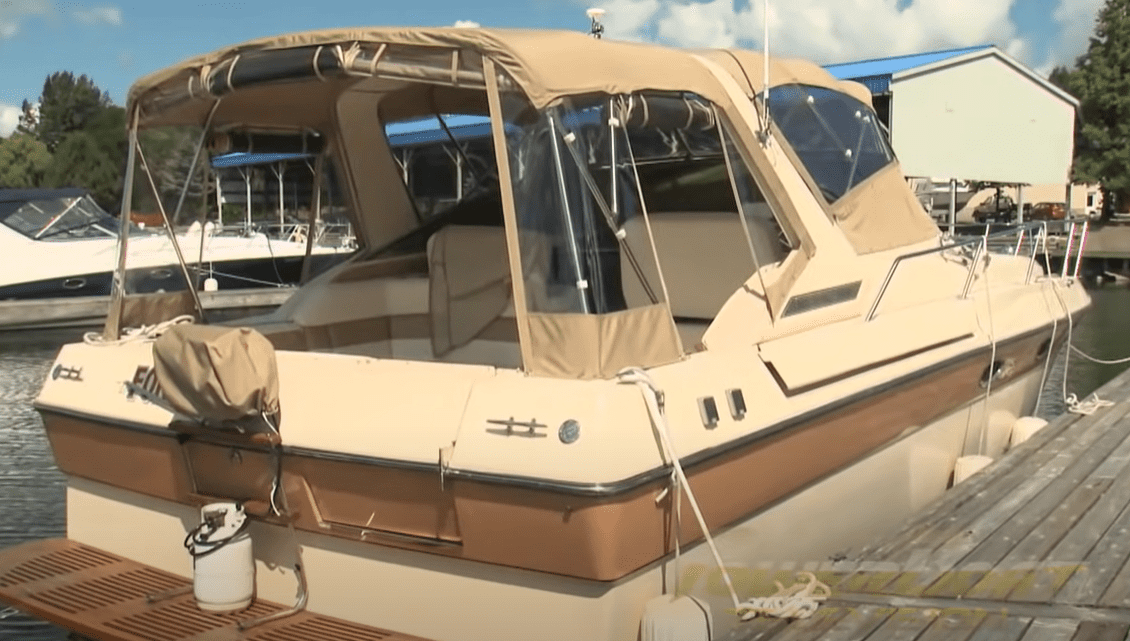
Painting a boat is one of the best ways to give it a new look and even increase its value. A fresh coat of paint can do wonders even for an old boat. You can save money by doing it yourself over hiring a professional boat painter.
But, the truth is if you want to paint a fibreglass boat, you must put aside a good amount of time. Fibreglass is a strong and durable material, but its smooth and slippery nature can make painting difficult.
You will need a lot of preparation work to paint your fiberglass boat successfully. But don’t let this scare you. With the right tools and patience, you can paint your boat.
I have painted my boats on my own, and in this guide, I will share some simple steps to paint yours!
Let’s jump in!
Table of Contents
Things you will need for painting Fiberglass Boat
- Paint
- Rollers and brushes
- Wax remover
- Epoxy filler
- Sandpaper
- Primer
Step by Step Guide to Paint a Fiberglass Boat
1. Choose the right paint
You cannot use just any paint when you want to paint a fiberglass boat. There are specific paints suitable for application on fiberglass.
The most commonly used paint types are single part enamel, single part polyurethane, and two-part polyurethane. Let’s briefly take a look at each.
- Single part enamel paint
These paints are easiest for beginners to handle. Not much mixing is required, and the paint goes on easily onto the surface. Although less expensive than other alternatives, single-part enamel paints are not durable and can quickly succumb to UV damage. The gloss also wears off rather quickly, requiring regular maintenance and repainting.
- Single-part polyurethane paints
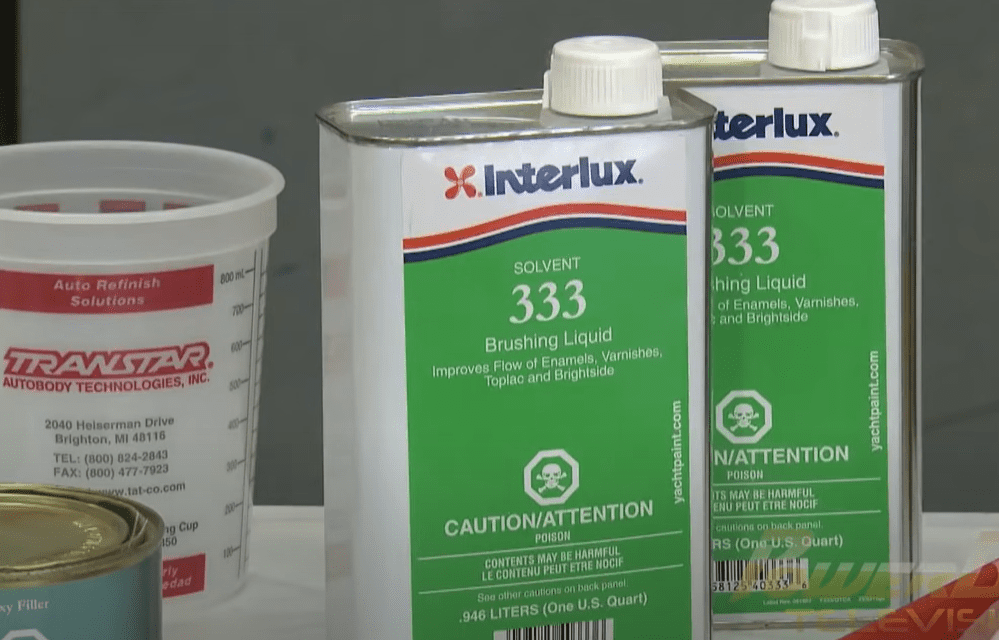
Polyurethanes apply smoothly onto a surface, making them popular for painting fibreglass boats. In addition to applying the paint with a roller or brush, you can also spray it onto the surface. Professional painters use the spraying method for a smoother finish. Before applying a single-part polyurethane paint, you must follow the manufacturer’s instructions on thinning the paint for best results.
- Double-part polyurethane paints
These paints have double the amount of polyurethane and are therefore long-lasting. They deliver a shinier gloss and can stay on the boat’s surface for many years.
These paints are generally intended for professional use. They can be quite expensive, and because they are so thin, you will need to apply several layers of the paint to achieve the desired gloss and endurance.
Also, because of the paint’s thinness, intensive preparation work is required to ensure that the paint adheres to the boat’s surface. Generally, double-part polyurethane paints are so powerful that you should wear special protective gear such as thick gloves, boots, and a high-pressure mask when handling the paint.
2. Do the prep work to get the boat ready for painting
Once you choose the best paint for your needs, set aside some time to prepare the boat for painting. This part might be quite demanding, but it will make the difference between a good and bad paint job.
The preparation stage involves several steps.
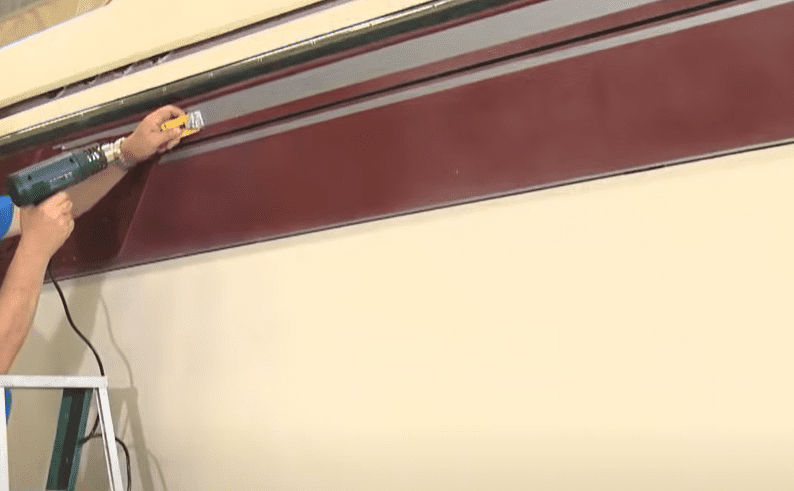
- Remove all hardware
If there is a part of the boat you do not intend to paint, you should remove it. Some movable and removable parts include the rails, vents, wood trims, etc. If a part isn’t removable and you do not want to paint it, you should cover it with tape.
- Repair any damages
Paint can improve the appearance of your boat, but it will not cover up dings and other cosmetic damages. Before painting, repair all damages, including cracks, protruding nails, dings, and broken parts. A marine epoxy filler will come in handy when you want to repair cracks and holes.
- Clean the boat
Wash down your boat using a gentle household detergent and a pressure washer. Before painting, make sure the boat is free of salty residue that can compromise the paint’s quality. Use rugs to wipe down any soapy residue on the boat. Ideally, you should clean your boat after every use to keep it in tip-top condition for longer.
- Remove the wax coating
Fiberglass boats come painted with shinny and slippery gel coat. This coat should be removed before painting the vessel. Paint will not adhere to the slippery gel coat so ensure that this coat is completely removed. Use a commercial solvent to clean out the gel coat (be sure to follow the manufacturer’s instructions). Most commercial solvents are strong enough to remove gel coats and gentle not to damage fibreglass.
- Sand down the boat
After getting rid of the gel coating, you can sand the boat for a smooth surface in readiness for painting. Use medium-grit sandpaper to smoothen any dings and remove any remaining gel coat. A 40 to 80 grit sandpaper is the best option for painting a fiberglass boat. Be aggressive to ensure that the surface is smooth enough for a perfect paint job when necessary. When you are done sanding the boat, use a smooth rag to wipe down the dust.
- Apply primer
Primer helps the paint adhere to the surface of the boat. Use a primer compatible with your chosen paint. If you are unsure which primer to use, ask the paint manufacturer or service assistant where you bought the paint.
Use a roller or brush to apply the primer. Aim for a thin, even layer of primer for the best results. Use smooth sandpaper, preferably 300-grit, to sand down the primed surface before applying the second primer layer.
I recommend giving the primer about two hours to settle into the boat before painting. This helps with a smoother, longer-lasting finish.
If you prefer not to use a primer, you can wipe down the boat’s surface with Xylene, which acts as a cleaning and thinning agent in paint jobs. Xylene readies the boat’s surface like primer, improving the paint’s adherence.
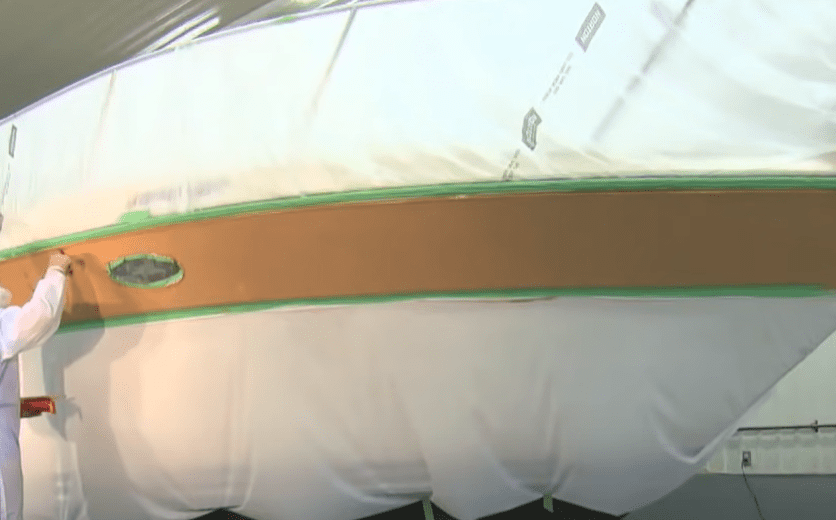
Step 3: Paint the boat
Now, onto the part you have been waiting for—painting!
One of the secrets to a perfect paint job is following the manufacturer’s instructions to the tee. Some paints need to be mixed with a thinner, and others may require special mixing and application techniques.
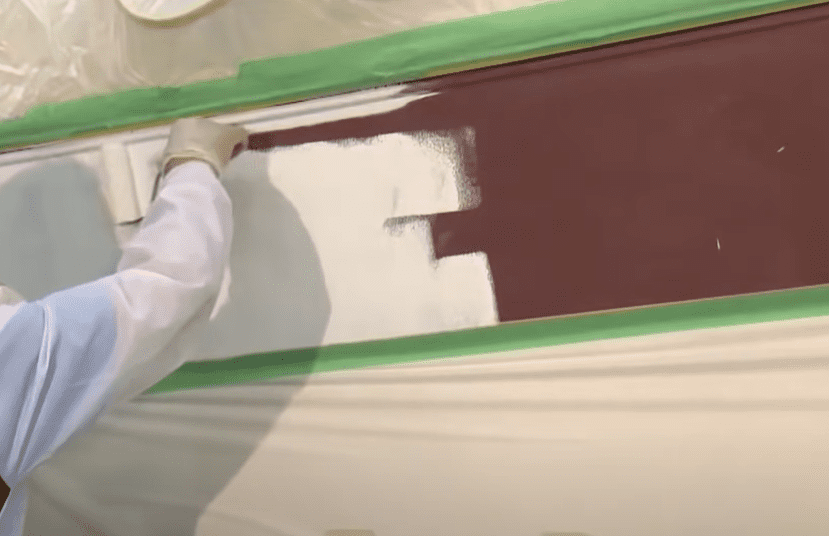
Once the paint is ready, apply the first coat using a paint roller and allow it to dry for one or two hours. After this, go on and apply the second layer using a roller. Use a brush to reach the hidden nooks and crannies. Be sure to place your boat in a dry, well-protected area before you begin painting.
Ideally, you should have a helper, especially painting a large boat. Professional painters usually have one person apply the first layer of paint using a roller. A second painter would immediately follow with a brush to give the surface a smooth, clean finish.
Whether it is just you or you have a helper, ensure that you have an even and consistent coat throughout. Avoid applying more than one layer at a time, as this will cause the paint to run, leaving a less than appealing appearance. Too much paint will also increase the drying time.
After the paint job is complete, remove the tape you had used to protect the areas of the boat where you didn’t want to paint.
Allow the paint enough time to dry. Most paint types will be dry to the touch in about two to three days, but you should follow the manufacturer’s instructions on how long to wait for the paint to dry. It will generally take up to a week for the paint to be completely dry before you can reinstall the hardware.
Step 4: Wax the boat
After the paint dries, I strongly recommend applying a waxing product to your fiberglass boat. A good quality wax will give your boat adequate protection again the effects of debris and UV rays. Applying wax protects your paint job, leaving your boat looking spick and span for many years.
Congratulations! That’s how to paint a fiberglass boat.
I will share a few more tips to make this project a success.
Extended Tips
- Plan to paint your boat under the right weather conditions
Ideally, you should schedule your project when the outdoor temperatures are between 70 and 80 degrees Fahrenheit and humidity levels are less than 70%. Weather conditions make a big difference in how well the paint goes and affects the ease of application.
- Select colors carefully
Darker colors may appear classy on a boat, but these colors absorb heat. Remember that fiberglass is structurally a form of plastic, and the heat absorbed can cause the material to shrink and deform, affecting the shape and longevity of your boat. For a boat that will stay in good shape and serve you longer, you should consider lighter colors reflecting heat.
- Keep your tools tidy
A mistake first-time painters make is painting with dirty brushes and rollers. You should wash each roller or brush every half hour to get rid of any accumulated debris that can affect the quality of the paint job. It is also good to have more than one brush or roller to save time and effort cleaning. Speaking of tidiness, it is also important to protect your paint from dirt and debris. Always cover your can of paint while you paint.
- Two hands are better than one
The roll and tip method will give you the best finish, especially when painting a large boat. For this method, you will need a helper. One of you will roll the paint onto the boat’s surface, and the other follows with a brush using light strokes for an even finish. Apply several thin and even layers instead of a few thick ones for the best results.
- Prolong your boat’s life with regular maintenance
Even the best paint job will quickly wear out if you don’t properly care for your boat. Always clean your boat after every use and let it thoroughly dry. Also, be sure to keep your fiberglass boat protected against the effects of ice.
Summary: How To Paint A Fiberglass Boat
Fiberglass boats can be tricky to paint because of their slippery surface. That said, it is indeed possible to do a great paint job as long as you have the right equipment, good quality paint, and the correct technique.
Good preparation is important when painting a fiberglass boat. You might spend quite some time removing the gel coat, sanding, and priming the vessel, but all this is well worth it. Remember to follow the manufacturer’s instructions on how to handle the paint for a high-quality outcome.
I hope this guide on how to paint a fiberglass boat will help you do a good job that you can take pride in.
What type/brand of paint do you recommend?