There is nothing better than owning a boat and having the privilege to use it for your favorite leisure, watersports, observation, or fishing activity. However, like a car, it would be helpful to follow a routine maintenance schedule for the health of your boat motor.
We all know that paying shop prices can put a significant dent in our pockets, and I think we can all agree that we would instead place those extra dollars in our fun and entertainment fund.
By the end of this article, you will be confident and ready to clean your outboard motor carburetor- saving hundreds of dollars in routine cleaning and maintenance procedures throughout the year.
Table of Contents
- What Is An Outboard Boat Motor?
- Do All Outboard Motors Have A Carburetor?
- Symptoms Of A Dirty Carburetor
- How Often Should A Carburetor Be Cleaned
- Required Items For Cleaning The Carburetor
- Guide To Cleaning An Outboard Carburetor
- 1. Carburetor Cleaning Without Removal
- 2. Carburetor Cleaning With Removal
- Conclusion
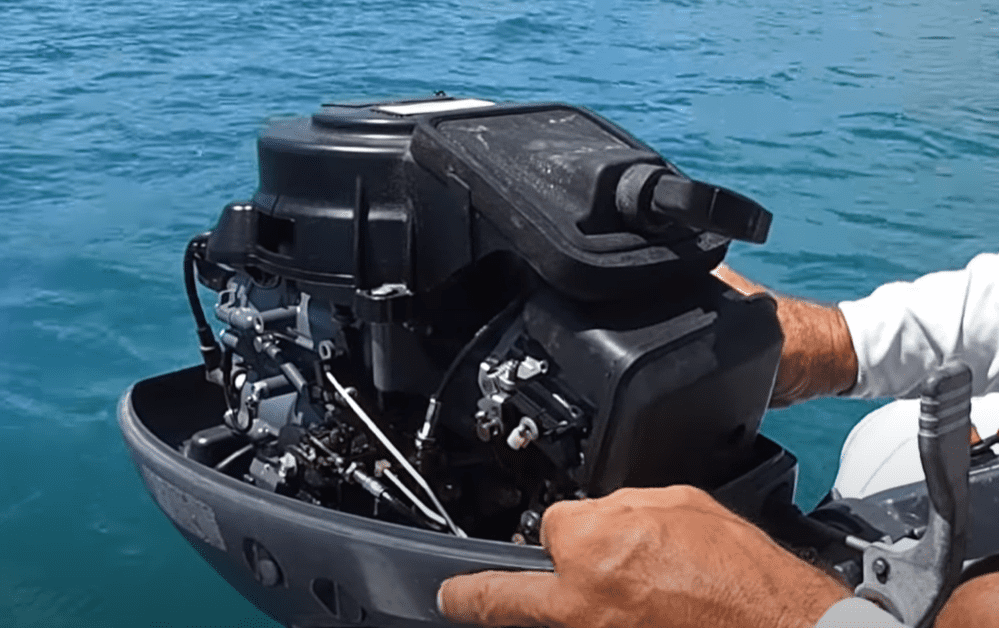
What Is An Outboard Boat Motor?
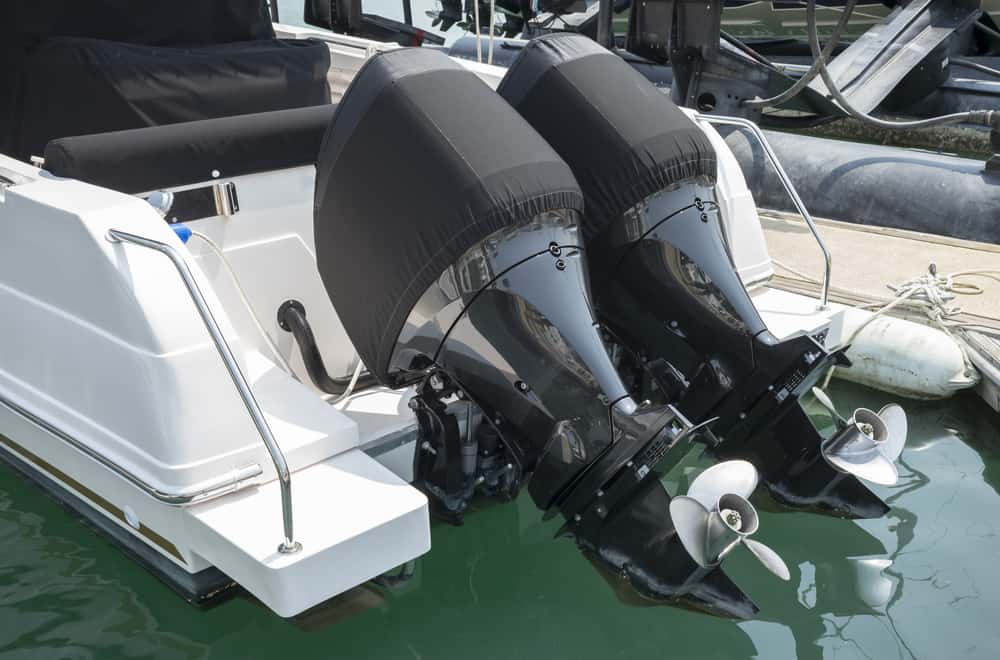
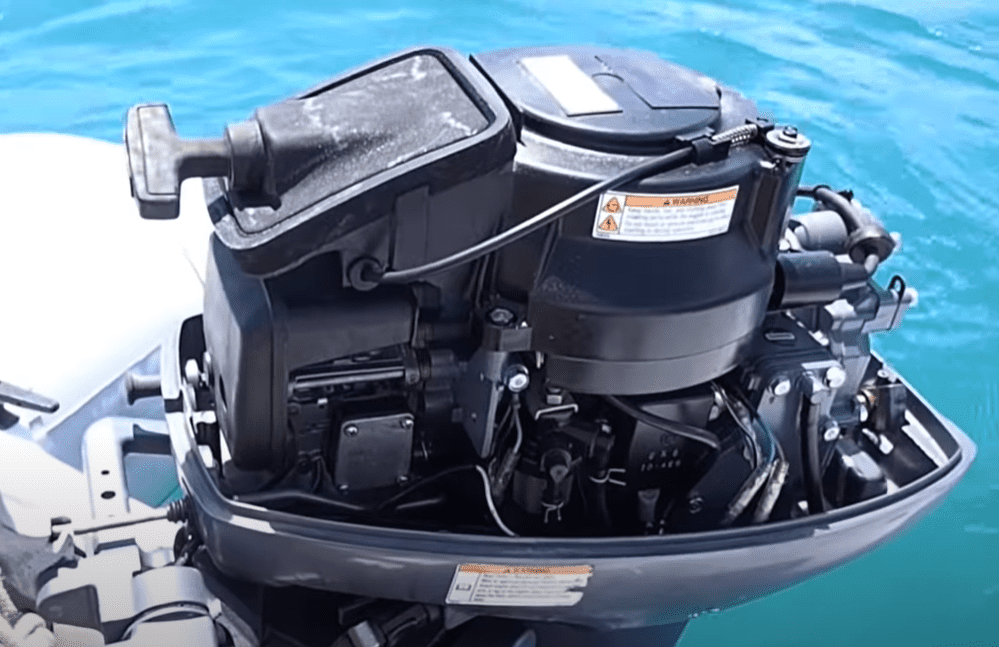
As the name suggests, an outboard engine fits on the outside of a boat.
More specifically, it attaches to the transom, which is the aft-most cross-section of your boat’s hull.
The outboard motor is your boat’s all-in-one propulsion system containing an engine, gearbox, and propeller. One significant advantage of this unit is you can control both the power and direction of the boat by moving the entire engine.
For steering purposes, you can use a tiller, a handle attached to the rudder, to steer your outboard motor– this option boasts better maneuverability for many enthusiasts. Conversely, you can retrofit a steering system to an outboard engine.
Do All Outboard Motors Have A Carburetor?
Outboard boat motors come standard in one of three different fuel delivery systems. Based on various factors, these propulsion systems will utilize either a direct or electronic fuel injection system or have a carbureted engine.
Traditionally, outboard motor engines had two-stroke engines that delivered smaller boats faster than other alternatives. However, manufacturers have since developed impressive four-stroke outboard motors with quite the punch.
In general, carbureted engines have maintained a significantly lower price point. However, the downside of this fuel delivery system is that they are less fuel-efficient and have a higher emissions tag on the environment.
Manufacturers have since understood the importance of global sustainability and have spent billions of dollars in research and development to remodeling their product lines to mirror this change.
The two-stroke carbureted outboard motors of old have become obsolete (at least in the United States) due to long overdue tightened restrictions regarding preserving our ecosystems.
Manufacturers have profited immensely with the newest emissions regulations on selling high-performance outboard motors that feature direct or electronic fuel-injection systems.
The bottom line is that whether your boat features a modern fuel injection system or maintains a carbureted engine, it must be inspected and be able to pass ignition emissions standards.
Symptoms Of A Dirty Carburetor
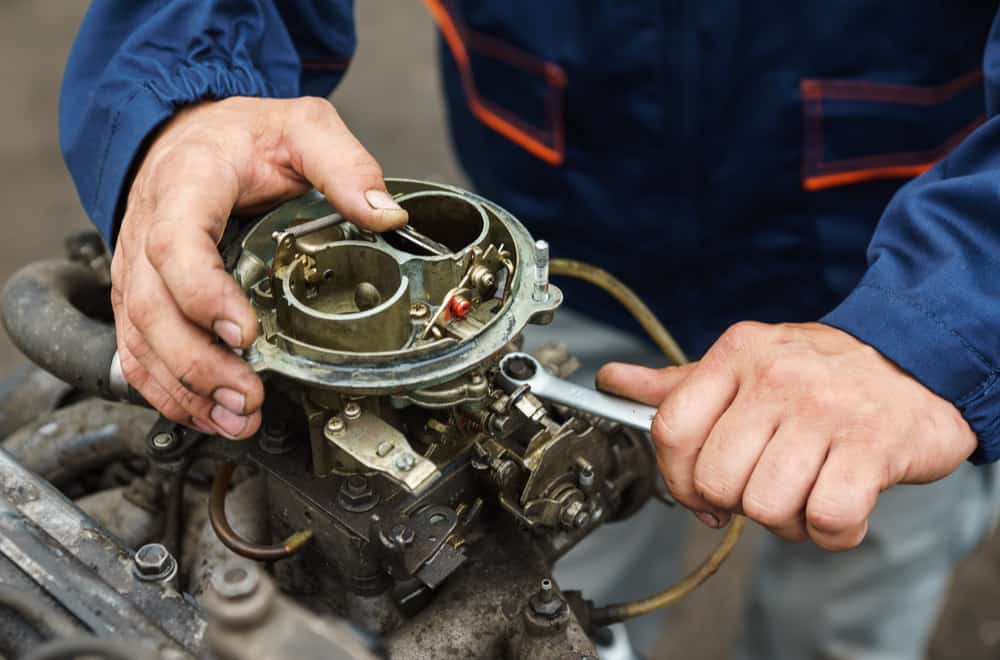
Troubleshooting a carburetor requires some advanced mechanical skill; however, often, you can resolve many of the issues your engine is experiencing by cleaning your carburetor.
- Outboard Engine Will Not Start- If you are experiencing no-start or slow-start symptoms with your outboard motor, then your carburetor may indeed be overdue for a good cleaning.
- Popping Sounds- You may experience popping sounds emitting from the boat’s engine exhaust due to too much air in the fuel mixture, causing the motor to ‘run lean.’
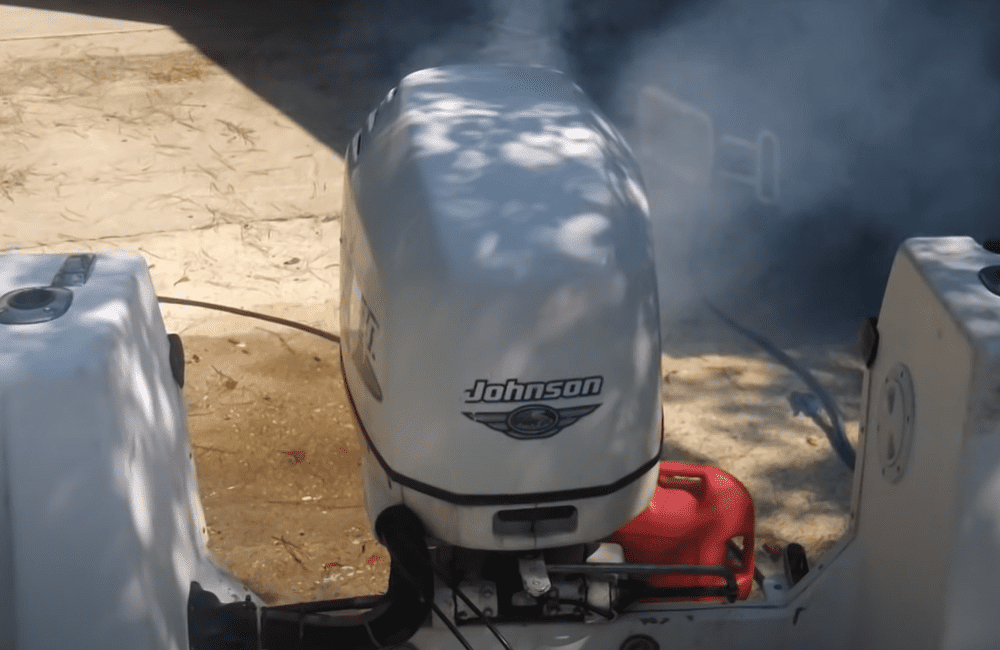
- Dirty Smoke- In contrast, a motor with too much fuel and less air will create dirty or black smoke to exit the exhaust- this is known as a motor ‘running rich.’
- Reduced Performance: If your Carburetor is not producing the correct fuel-to-air mixture due to being dirty (or defective), you may notice decreased acceleration, power loss, and overall lower performance.
How Often Should A Carburetor Be Cleaned
Carburetor cleaning frequency depends on many factors, including quality of fuel, stabilizers, and other additives used; and how often you are depleting and refilling your fuel tanks.
When fuel becomes stale, or sediment begins to sit within the carburetor chambers, you will indeed start to experience many of a dirty carburetor’s symptoms, including poor starting and idle failure.
I advise that you consult with your outboard motor manufacturer for their recommended cleaning and maintenance schedule. You may even want to discuss your boating use history so that a professional can help you tailor a more personalized program.
Required Items For Cleaning The Carburetor
Here is a list of tools you should have to execute a thorough cleaning of your outboard motor carburetor properly:
- Screwdrivers: Philips and Slot head
- Ratchet and Socket Set
- Pliers (Needle-nose are best)
- Magnetic Tray (to keep track of smaller loose parts and hardware)
- Carb Cleaner
- Spare carburetor (a great idea to stay aboard)
- Thoroughness (clean with purpose)
- Patience and a
- Steady Hand
You likely already have these tools on hand as a boat owner, so now it is just a matter of digging them out and using them.
Guide To Cleaning An Outboard Carburetor
There is always an easy (or more straightforward) and a more complex way to do things. For example, when cleaning your outboard motor carburetor, you can do so with or without removing it.
Regardless of the make and model of your motor and carburetor, the cleaning principles remain the same. So let’s begin by looking at cleaning the carburetor without removal, followed by a more in-depth cleaning (best choice) guide.
1. Carburetor Cleaning Without Removal
Suppose your outboard motor is experiencing symptoms of a dirty carburetor, yet you do not have the time to perform a more in-depth cleaning. In that case, you can remove a significant amount of sediment without ever removing it from the motor itself.
Located within your handy-dandy onboard storage cabinet for tools and other maintenance items, you should always have a can of carburetor cleaner available.
Typically, I recommend the following three carburetor cleaning solutions:
So, now that you have access to the best cleaning solutions, how should you get on with the actual task of cleaning? I’m glad you asked, and I have prepared Quick Cleaning Guide #1 for how to clean your outboard carburetor without removing it.
Cleaning Instructions
- Fill Your Fuel Tank.
- Pour Carburetor Cleaner Into Fuel Tank (use a funnel and check for correct mixing ratio).
- Turn On Your Engine.
- Take A Slow Ride (maintain low RPM)- the objective is to burn off the sediment and gunk buildup through engine combustion.
- Spray Carburetor Cleaner Onto Carb’s Pilot Air Jet- this is an optimal way to complete the carburetor flush process when you do not have time for complete removal.
2. Carburetor Cleaning With Removal
If running through the above steps to clean your carburetor using a fuel additive does not improve your outboard’s failing performance, then your next step is to remove and disassemble your carburetor for a better look.
Trying to resolve a carburetor issue without removing this component from your outboard motor will often be all you need. But then again, you limit yourself from the opportunity of a close visual inspection of the entire carburetion system.
So, after attempting a flush, you realize that the next step is an in-depth cleaning (and rebuilding) of your outboard motor’s carburetor. Collect the necessary tools and follow Quick Cleaning Guide #2 for the disassembly, cleaning, and reinstallation of the culprit component.
Step 1. Removal
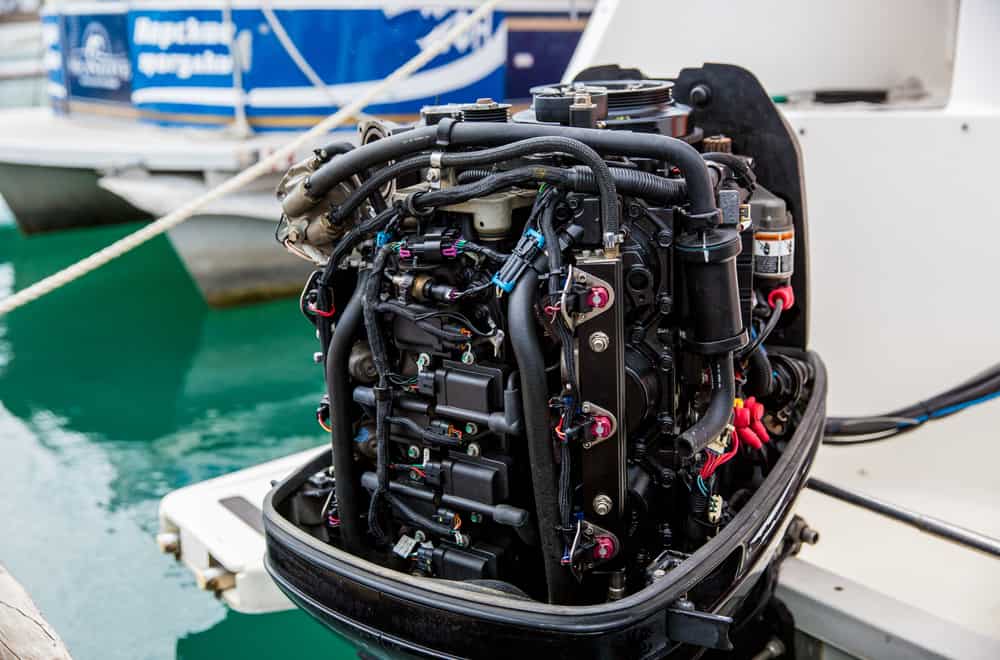
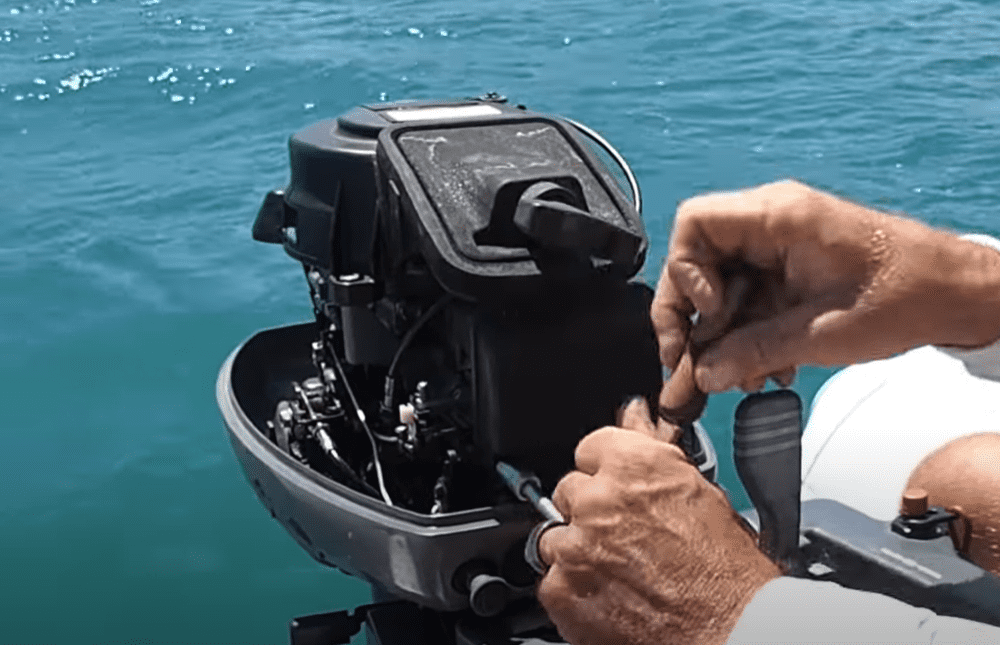
- Remove outboard motor cowling and locate carburetor.
- Use your needle-nose pliers to remove the fuel line.
- Remove plastic guard covering engine choke linkage.
- Use ratchet and socket to remove bolts attaching carburetor to the engine.
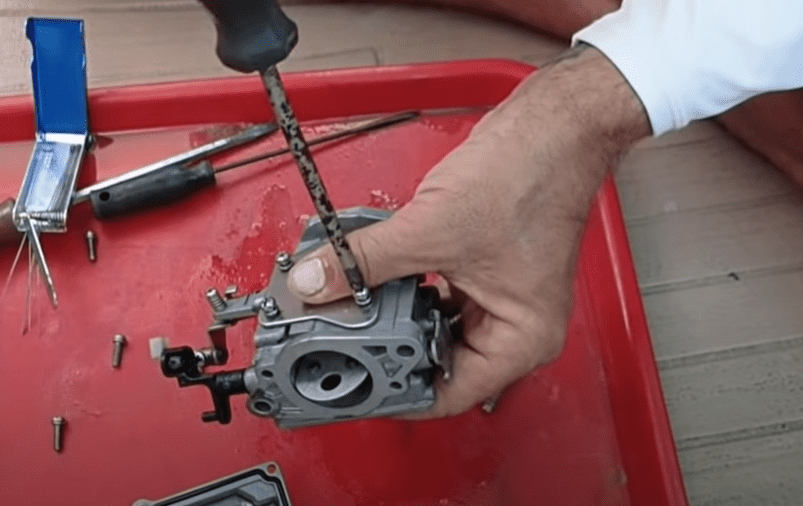
Step 2. Disassembly
- Set up your sizeable magnetic tray near the workspace where you intend to disassemble the carburetor.
- Grab your various screwdrivers and begin taking the carburetor apart.
PRO-TIP #1: Draw simple diagrams or take pictures throughout the disassembly process so that you have an easy-to-follow guide on how to put your carburetor back together again.
Step 3. Cleaning
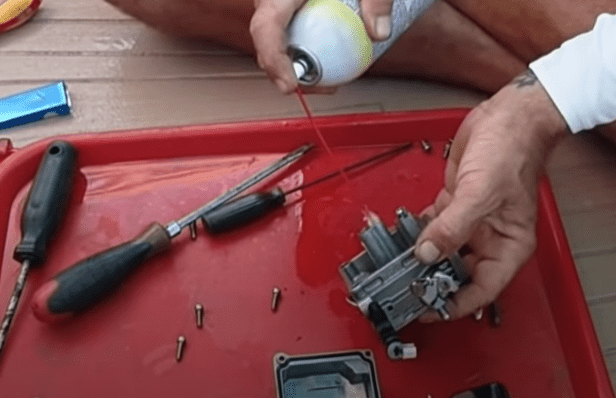
- Remove pilot air jets.
- Begin to spray your preferred brand of carburetor cleaner throughout.
PRO-TIP #2: Be sure to wear safety goggles when spraying the carburetor cleaner to eliminate the risk of its chemicals getting near your eyes.
- Continue to spray carburetor cleaner until you are satisfied you have removed all sediment and gunk from its chambers.
Step 4. Reassembly
- Using the diagrams or photos you took earlier, carefully reassemble your outboard motor’s carburetor.
Step 5. Reinstallation
- Reverse removal steps to correctly reinstall your carburetor into the engine (pay special attention to the throttle cable, choke linkage, and fuel line attachments).
Please WATCH the removal, disassembly, cleaning, and reinstallation process for your outboard motor’s carburetor. This maintenance action no longer needs to be a point of stress.
After browsing through ZeroToCruising’s helpful video instruction and reading through Quick Cleaning Guides #1 and #2, you should feel more than capable of restoring a dirty carburetion system to optimal performance.
Conclusion
If you are experiencing symptoms such as black smoke, popping, idle failure, or poor performance in your outboard motor, then your initial response should be a dirty carburetor.
With the tools and cleaning guides supplied in this article, you are more than ready to clean your carburetor. First, however, remember to be patient, take your time, and clean the carburetor’s various chambers thoroughly- one tiny spec could be enough to throw off the entire system.
If you have any questions or concerns along your carburetor cleaning journey, please do not hesitate to leave them in the comment section below.

Joseph Fabiano is a writer, nature enthusiast, and stay-at-home father of two wild and free boys. He enjoys starting his day with a good run, hot mug of coffee, and a jump in the Ionian Sea, no matter the weather. Currently based in the Apuglia region of southern Italy, he enjoys discovering the world with his best traveling buddies (his little monkey’s and beautiful wife) at every given opportunity. Every trip, long or far, should be made an adventure according to Joseph as he believes inspiration and creation is right in front of you.
Between Seafoam, Quicksilver PowerTune, and B-12 Chemtool do you have a preferred product?