Do you want to give your Jon boat a new, fresh look?
One of the appeals of aluminum Jon boats is that they are low-maintenance. As long as you clean yours after every use and store it properly, it should serve you for many years.
Painting is also a great and inexpensive way to spruce up your aluminum fishing boat. If you use your Jon regularly, the paint will begin to chip off at some point. A fresh coat of paint can give the boat a brilliant new look.
The good news is, painting your aluminum Jon boat isn’t difficult. With the right equipment, proper preparation, and some patience, you can transform your Jon from drab to fab.
In this article, I take you step by step, showing you how to paint an aluminum Jon boat on your own. I will go through the equipment you need and provide simple instructions and tips to make this boat painting project a success.
So, without further ado, let’s get started!
Table of Contents
Things you will need for painting Aluminum Jon Boat
- Water-resistant paint
- Aluminum-specific polish and primer
- Sandpaper, electrical sander
- Soft, clean rags
- Warm water and vinegar
- Gentle detergent or commercial-grade detergent
- Paint brushed and rollers
- Safety goggles
- Gloves
- Respirator mask
- Masking tape
Step-by-Step Guide to Paint an Aluminum Jon Boat
Follow these easy steps to apply a fresh new coat of paint to your aluminum boat.
Step 1. Position your boat in an appropriate location
If your boat is in the water, you will need to pull it out and bring it to a dry area. Your chosen workspace should be sheltered from the elements and be spacious enough to allow you to turn the boat upside down if you need to paint the bottom.
It is best to lift the boat off the ground to work more efficiently. I usually support the boat with wooden mounts, but you can substitute mounts with strong woodblocks. Also, remember to position your boat where there is an electrical outlet if you will be using an electric sander.
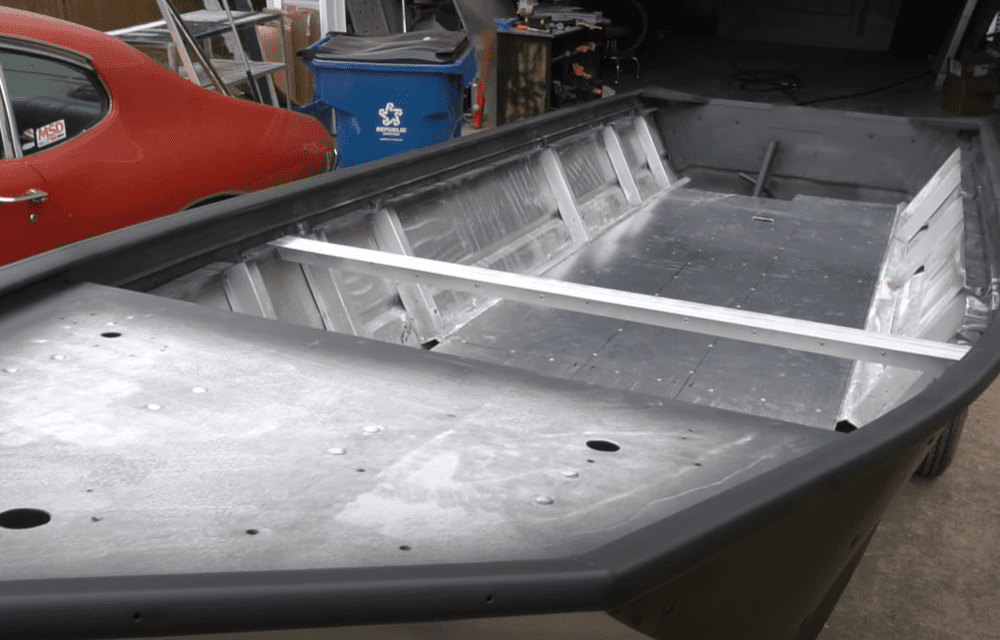
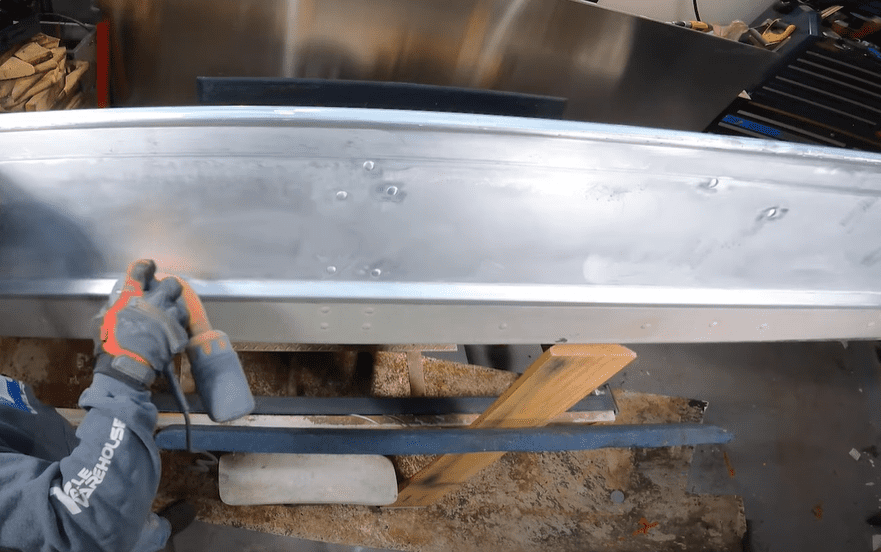
Step 2. Sand down the boat
Once your boat is in position, and you have the equipment ready, what follows is sanding down the surface to remove all paint and wax and to create a smooth surface for a good paint job.
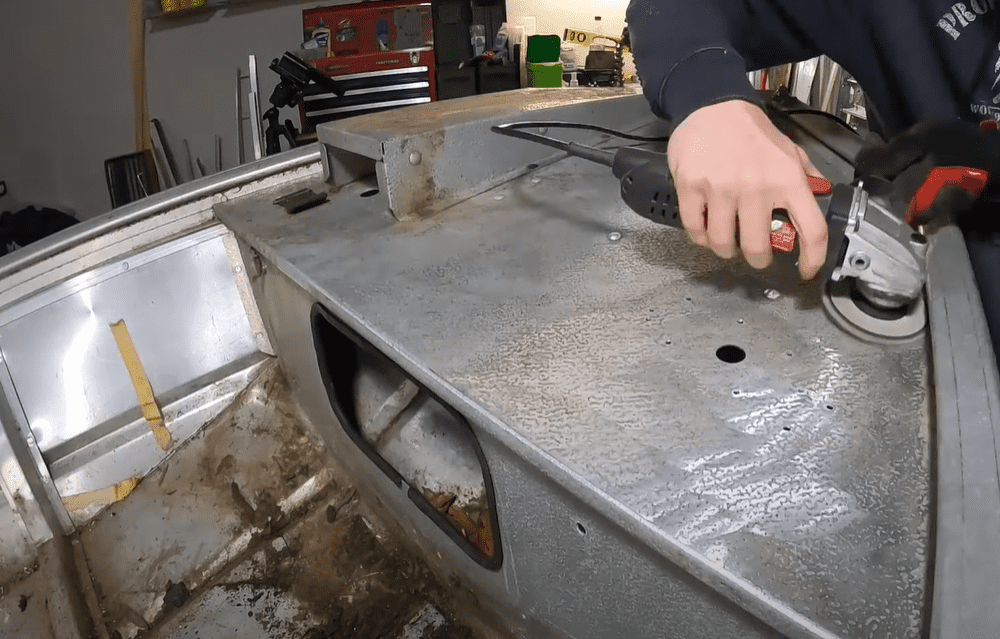
Sanding prevents the paint from chipping and ensures that the paint adheres well to the aluminum surface. If you use sandpaper, opt for an 80-grit one to sand down painted interiors. Use coarser 40-grit sandpaper to smoothen the metal surface for an unpainted interior. If you opt for an electrical sander, load it with the same grit specification sandpaper.
An electrical sander will get the job done faster, but you might still need hand sandpaper for hard-to-reach areas. Take your time to remove as much of the old paint as possible. Ideally, after the sanding job, what should remain is a clean aluminum surface free of paint.
For stubborn paint that will not come off, add a few drops of acetone on a rag and rub it on the remaining paint spots. Before working on the boat’s interior, be sure to remove all hardware and flooring material to perform a thorough job.
Step 3. Wash the boat
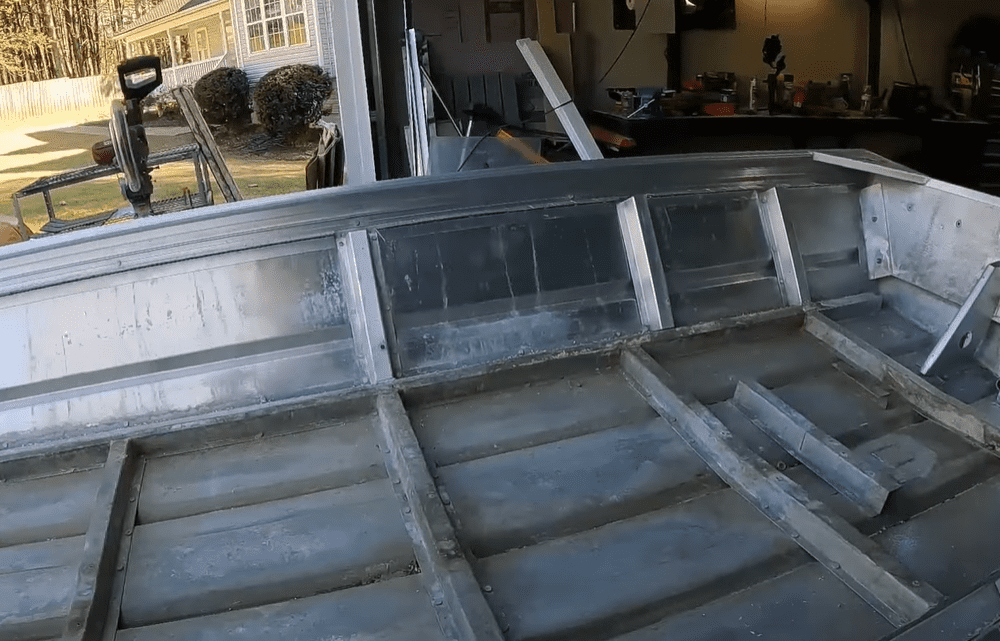
The next step in painting an aluminum job boat is washing it. Take time to clean and dry the boat thoroughly to ensure the paint goes on smoothly and adheres.
Remove remnants of old wax using a dewaxing solvent. Even small traces of wax can cause the paint to chip after a few short days.
You will need basic materials to clean an aluminum boat. These include water, mild soap, and vinegar to remove grime, dust, debris, and oil from the boat’s surface.
To get started, mix warm water and a gentle cleaning detergent. Use a soft rag to apply the soap mixture to the boat’s surface. If necessary, use a soft-bristled brush to scrub down and remove dirt from the boat’s surface.
You can remove tough stains by mixing warm water and vinegar in equal parts in a spray bottle. Spray the mixture directly on the tough stains and let it sit for a minute or two before cleaning it away with a soft rag or sponge.
Sometimes, when dealing with extra-tough stains, you might need to use commercial cleaning products. These products are effective, but they can also be abrasive. Special care should be taken when cleaning aluminum with commercial cleaning materials. Follow the manufacturer’s instructions on how to use the product safely.
Step 4. Polish the boat
Some people skip this step, but I prefer to polish my aluminum boat before priming and painting. I use aluminum-specific polish to shine and protect the metal. After the job, the boat is visibly shinier.
To polish your aluminum boat, use a handheld rag or electrical buffer to apply the polish on the boat. An electrical buffer applies the polish evenly and saves you time and effort. So, if you can, I recommend investing in one. Still, you will need to work by hand to get polish into those hidden nooks.
Just like painting a boat on your own, applying polish can be overwhelming if you do it without a strategic plan. I like to work in small portions to get the job done faster and more efficiently.
I polish each small area fast before moving on to the next until I polish the entire boat. Working in small portions is not only less overwhelming; it also ensures that you do not miss any spots.
Allow the polish to dry before proceeding to the next step. Depending on the type of polish, this should take 10 to 30 minutes. After the polish dries, wipe down the boat with a soft, clean rug.
Step 5. Apply primer
When you want to paint an aluminum Jon boat, the next step is applying primer. Primer makes the difference between an excellent paint job and a substandard one.
Primer helps the paint to adhere to the surface for longer. It also gives the aluminum surface an extra layer of protection.
There are many different types of primers. Make sure the one you use is suitable for an aluminum surface. Opt for oil-based instead of water-based primers for metal surfaces.
I like mixing a small amount of paint thinner into the primer. This mixture helps hide small scratches on the surface, amplified when you paint the metal. Hiding them ensures a smooth finish once the paint goes on.
After preparing the primer, it is time to apply it on the boat. Start applying a coat along unusual spots that you would typically miss. These include hidden corners and joints, edges, bolts, and welds. Consider using a small brush to get a primer to those hidden nooks and crannies.
You should apply primer on these unusual areas because if you miss them, which happens often, the paint will not adhere to these spots. In the end, you will have some areas looking like they didn’t receive enough paint, which doesn’t make for a great appearance. The paint will also wear off faster without primer, forcing you to paint again.
Leave the primer to dry before moving on to applying it to the boat’s exterior. The drying time will depend on the type of primer and the general conditions such as temperature and humidity.
When the primer dries, proceed to paint the exterior of the boat. Work in small sections, completing one section before moving to the next. Be sure to apply an even layer of primer; one or two coats are typically enough to prepare the boat’s surface for painting.
When painting the boat’s exterior, use long, strong strokes in the same direction. Instead of painting vertically, move your roller or brush horizontally along the hull’s length. Painting along the grain ensures a smooth, even finishing and makes your job easier.
After priming, I leave the boat to dry overnight to ensure that the primer is absorbed into the metal and completely dry.
Step 6. Paint the boat
You have sanded, washed, polished, and primed the boat. These are all important steps in preparing the boat for painting.
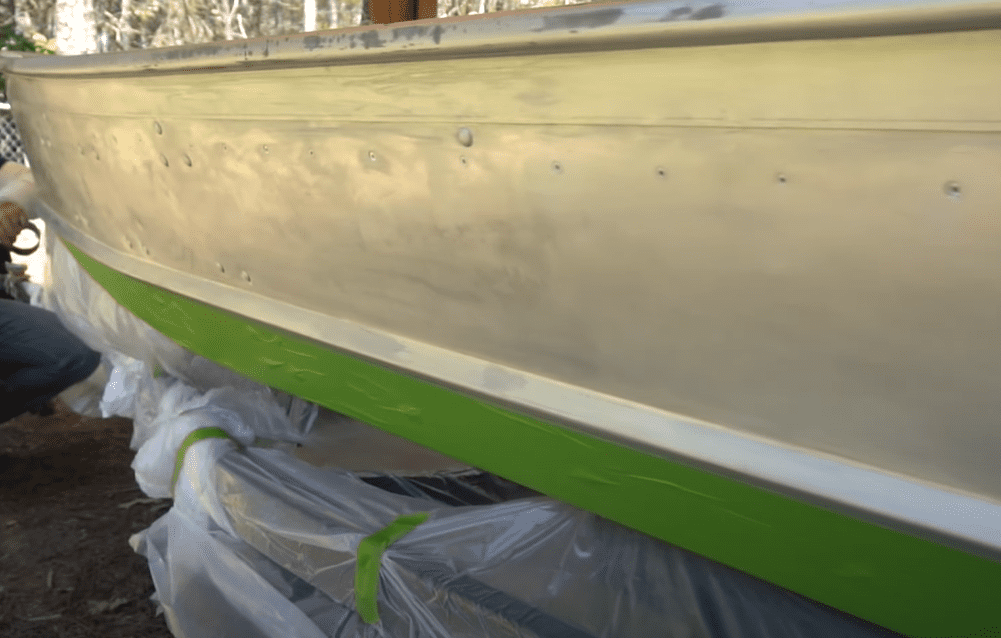
Before painting, use masking tape to protect any spots on the boat you do not want to apply paint. It is better to take this protective measure than trying to get paint off from areas you didn’t intend to paint in the first place.
Start by painting the boat’s interior. Because your boat gets into contact with water, it is best to choose a water-resistant paint that will not quickly chip away after a single fishing or hunting trip. Good paint will last you several months or years depending on how often you use the boat and the conditions you use it.
Like the primer, apply paint to all the hidden and unusual spots. For this, you might need to use a paintbrush or any small brush that will get paint into the nooks and crannies.
Allow the boat to dry before applying the second coat. How long the paint takes to dry will depend on the manufacturer’s instructions. Avoid making the paint too thick, resulting in the paint running and chipping.
Once the boat’s interior is dry, you can move on to paint the exteriors. Remember to paint in long, complete, horizontal strokes for a perfect finish. Allow enough time between the first and second coat of paint for a smooth finish.
If you need to paint the bottom, turn the boat over and paint along the grain using long strokes. Apply a second coat if necessary, but as usual, don’t slather on thick layers of paint. Allow the boat to dry overnight or at least 12 hours until it dries completely.
Step 7. Apply a protective wax
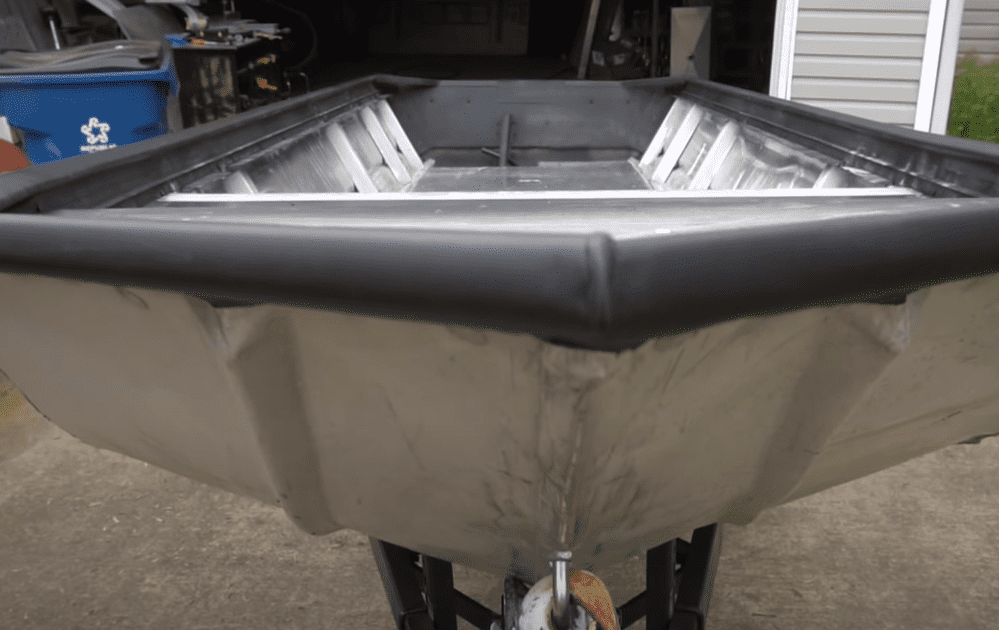
After you are done painting and the paint dries, you can apply protective wax. This upper protective coat protects the paint from dings and unwanted marks and retains the paint job.
Check the manufacturer’s instructions on how long to leave the wax to dry before you can use the boat. Be sure to invest in a good quality wax that can protect your boat’s paint for many years.
That’s it! With these steps, you can now paint your aluminum Jon boat. Below, I have included a few extra tips to help your project along.
Extended Tips
Protect your surroundings from getting paint
Using a spray gun is an excellent way to achieve a nice professional finish. But, this method of painting can also be quite messy. If you opt to spray paint, be sure that you are doing in a spot with enough space and ventilation for this job.
Use masking tape, old newspaper sheets, or old bedsheets to cover areas you do not intend to get paint on. Remember, it is better to prevent paint from jumping onto surfaces than to clean those surfaces later to remove unwanted paint particles.
Determine the amount of paint you will need
Before buying paint, first, identify how much you will need to complete the project. The best way to do this is to assume the boat is rectangular.
Measure the boat’s length and width to determine its surface area, which will tell you approximately how many gallons you will need to do a professional paint job. I recommend increasing that amount by at least 10 percent to account for inaccuracies.
Once you have the surface area, refer to the datasheet to see recommendations on how much paint you will need. Remember to buy slightly more paint than is recommended, especially if you will use rollers or a hand brush, which tends to use more paint.
Summary: How To Paint an Aluminum Jon Boat
Painting an aluminum boat is no different than painting any other boat. The upside is this boat is lightweight and small, so you can easily paint it on your own. How well you prepare will determine the quality of your paint job. A good paint job that’s wrapped up with a protective wax will prolong your boat’s lifespan for many years.